- Work hours
- Products & pricing
- Delivery Methods
These are important because without them, the admin will not be able to assign orders to the store
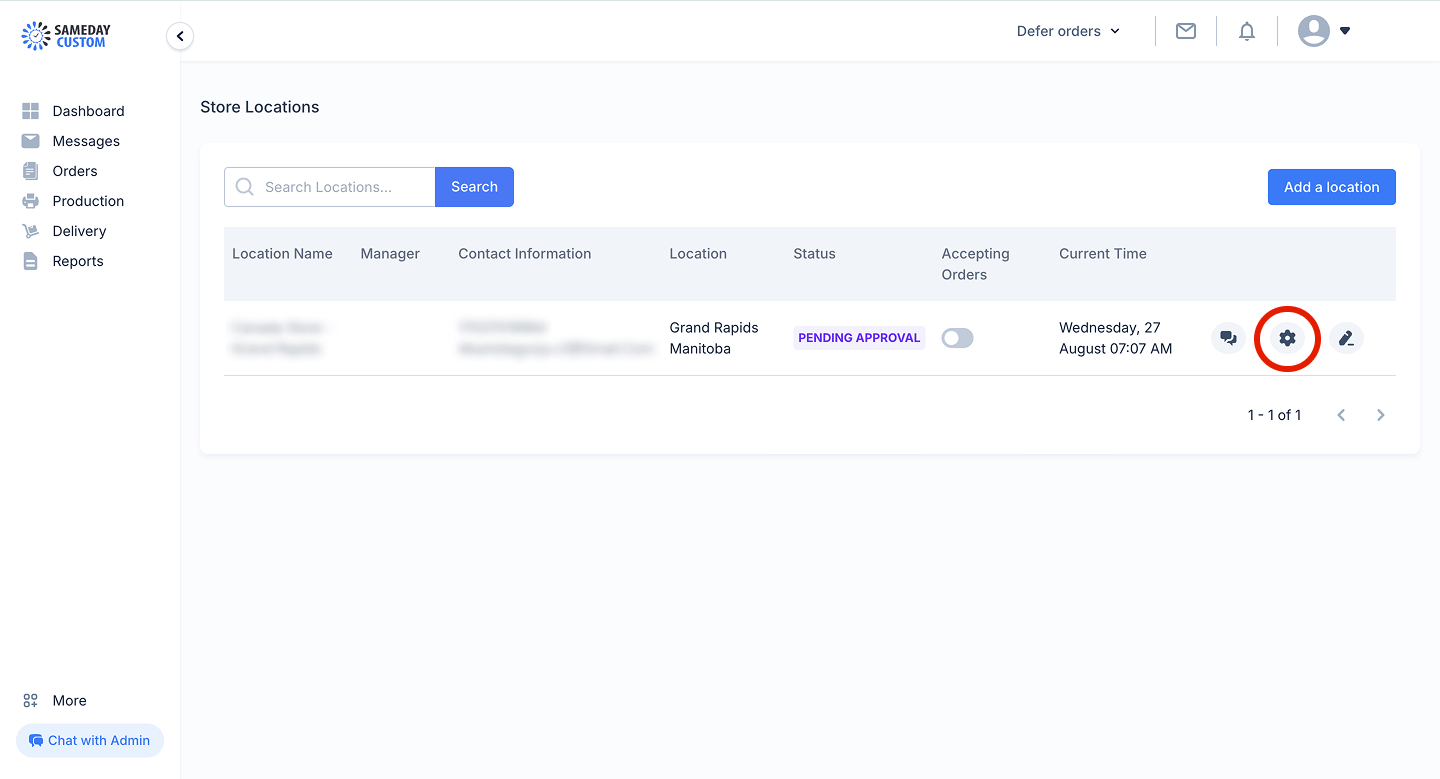
Finish setting up the store
1
Store Profile
You can edit change some information about the store location from here. You cannot change the store address. You’d need to contact the SameDayCustom Admin to do that if you want to.
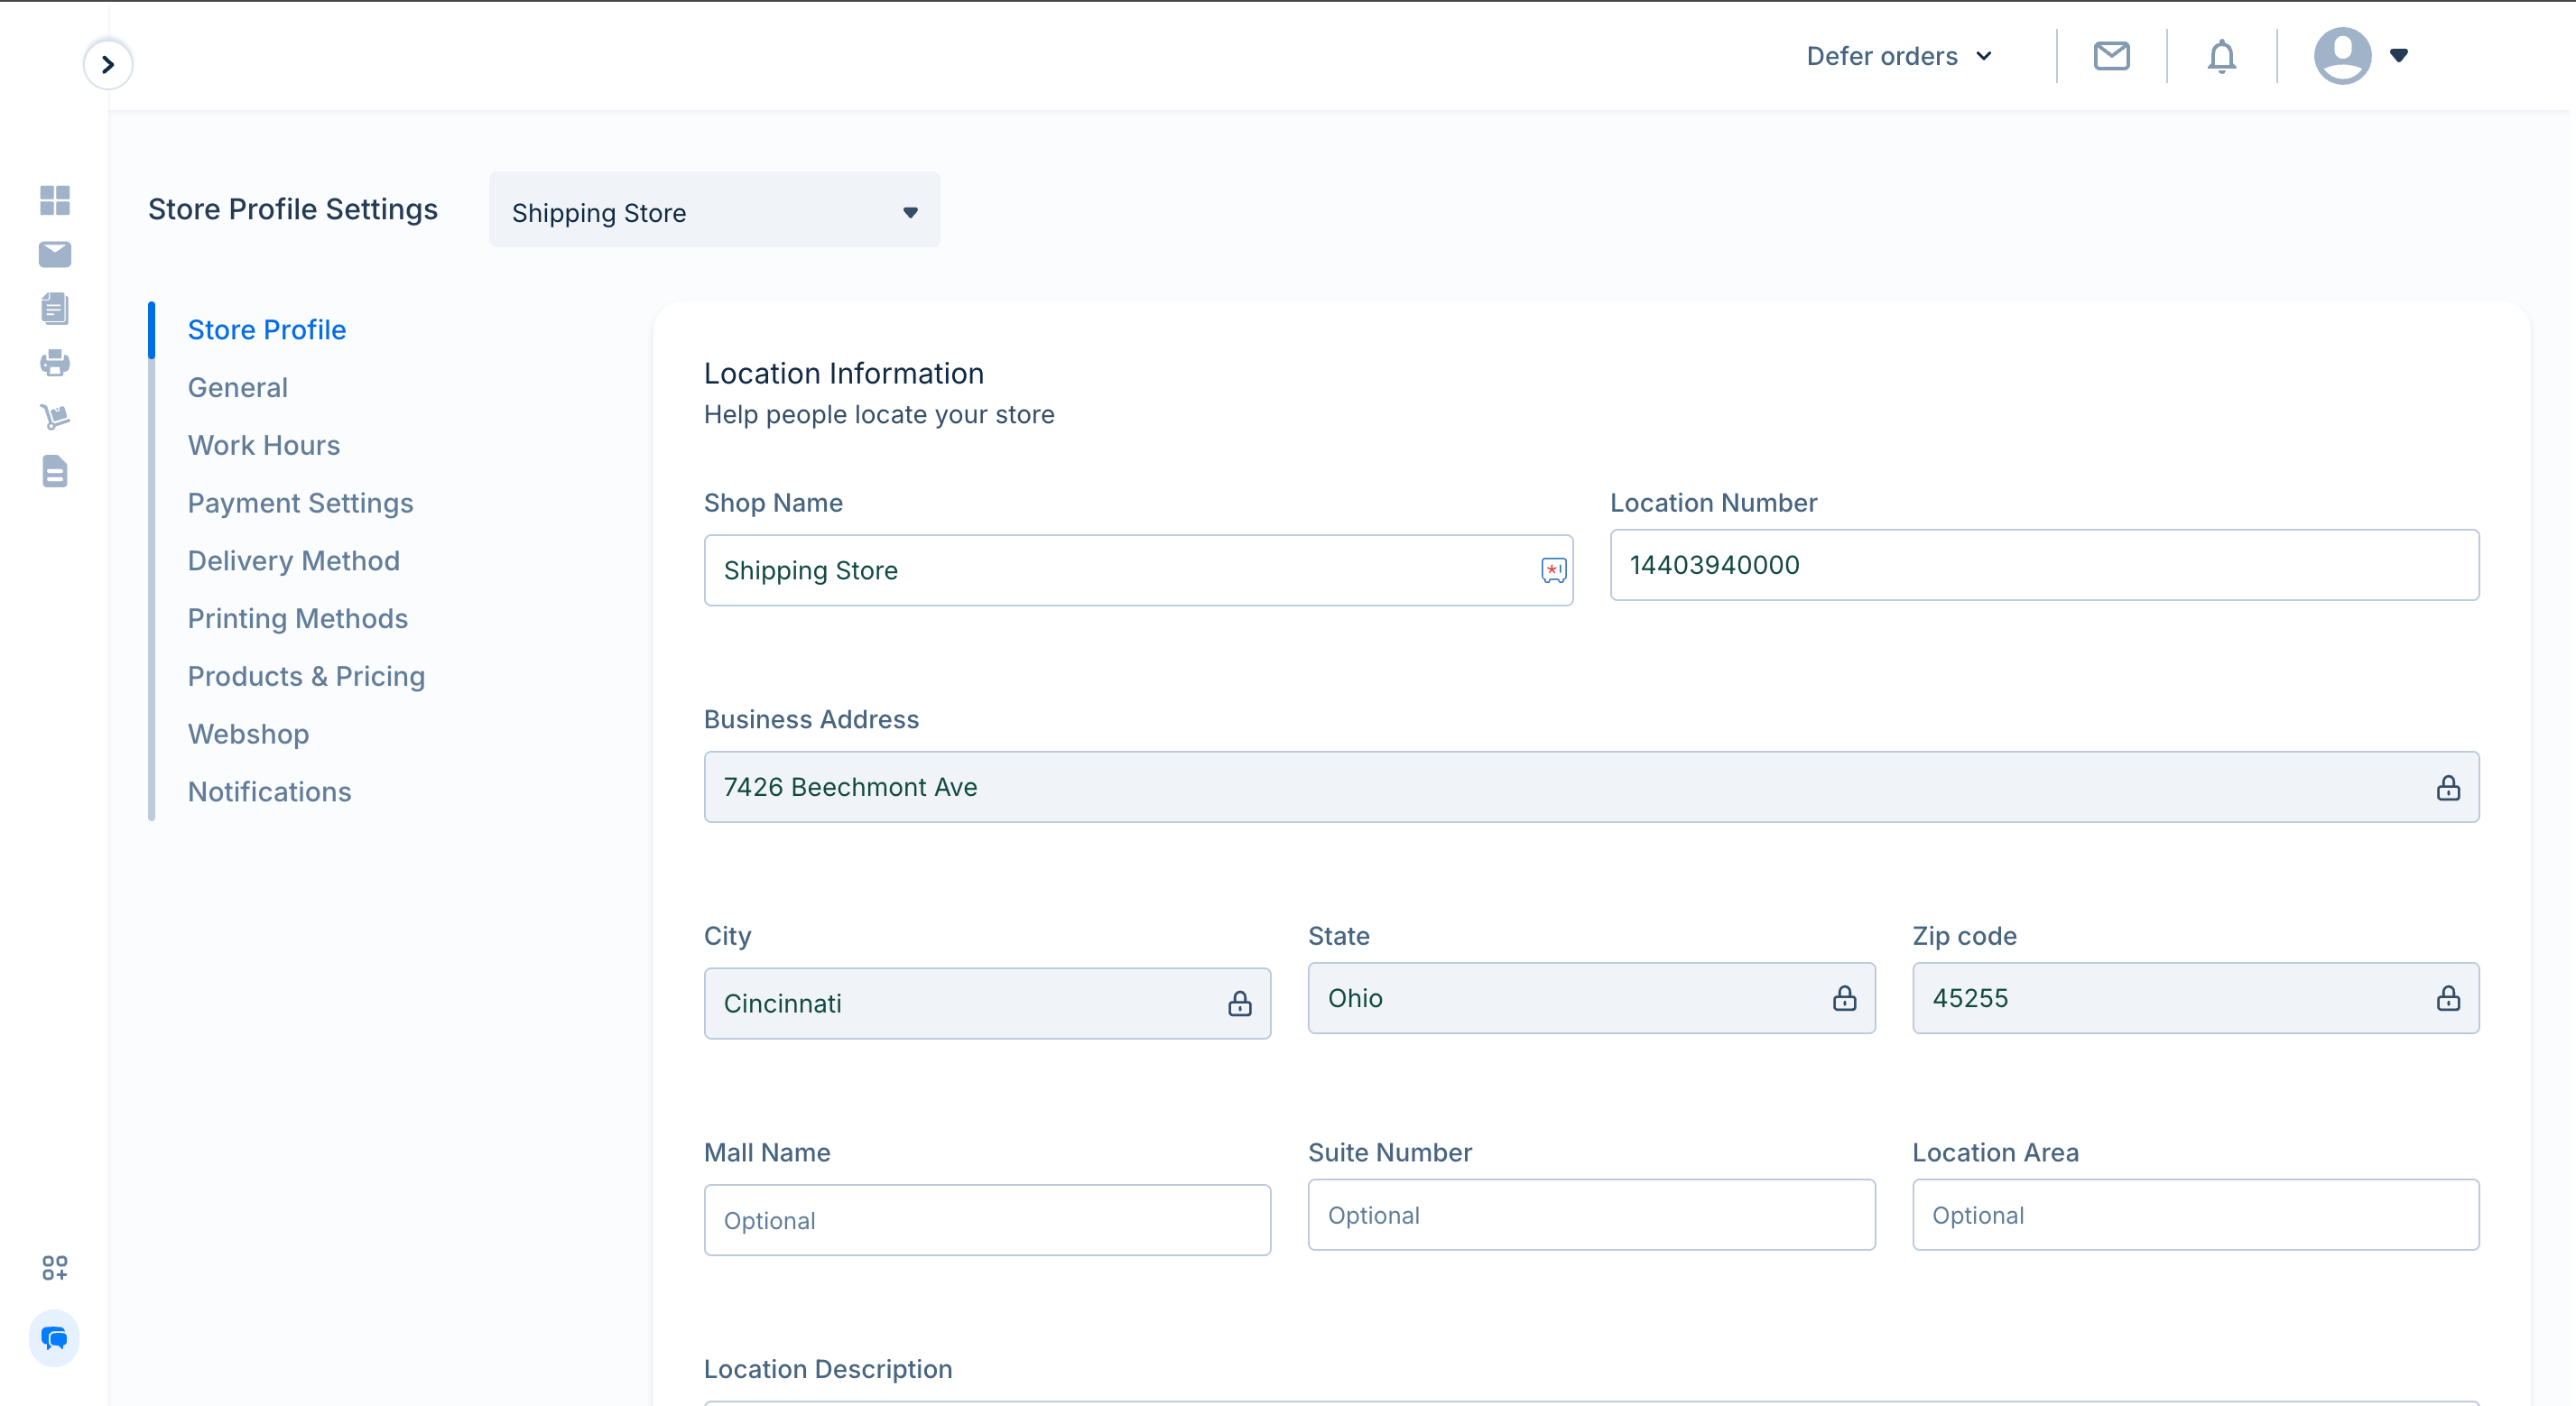
store profile
To use the webshop feature, please get in touch with the SameDayCustom Admin
2
General
Auto accept all ordersWhen this is enabled, all orders that are assigned to a store location will be automatically accepted by the store.Disable defer ordersWhen this is enabled, you will not be able to add delay to the order processing time.
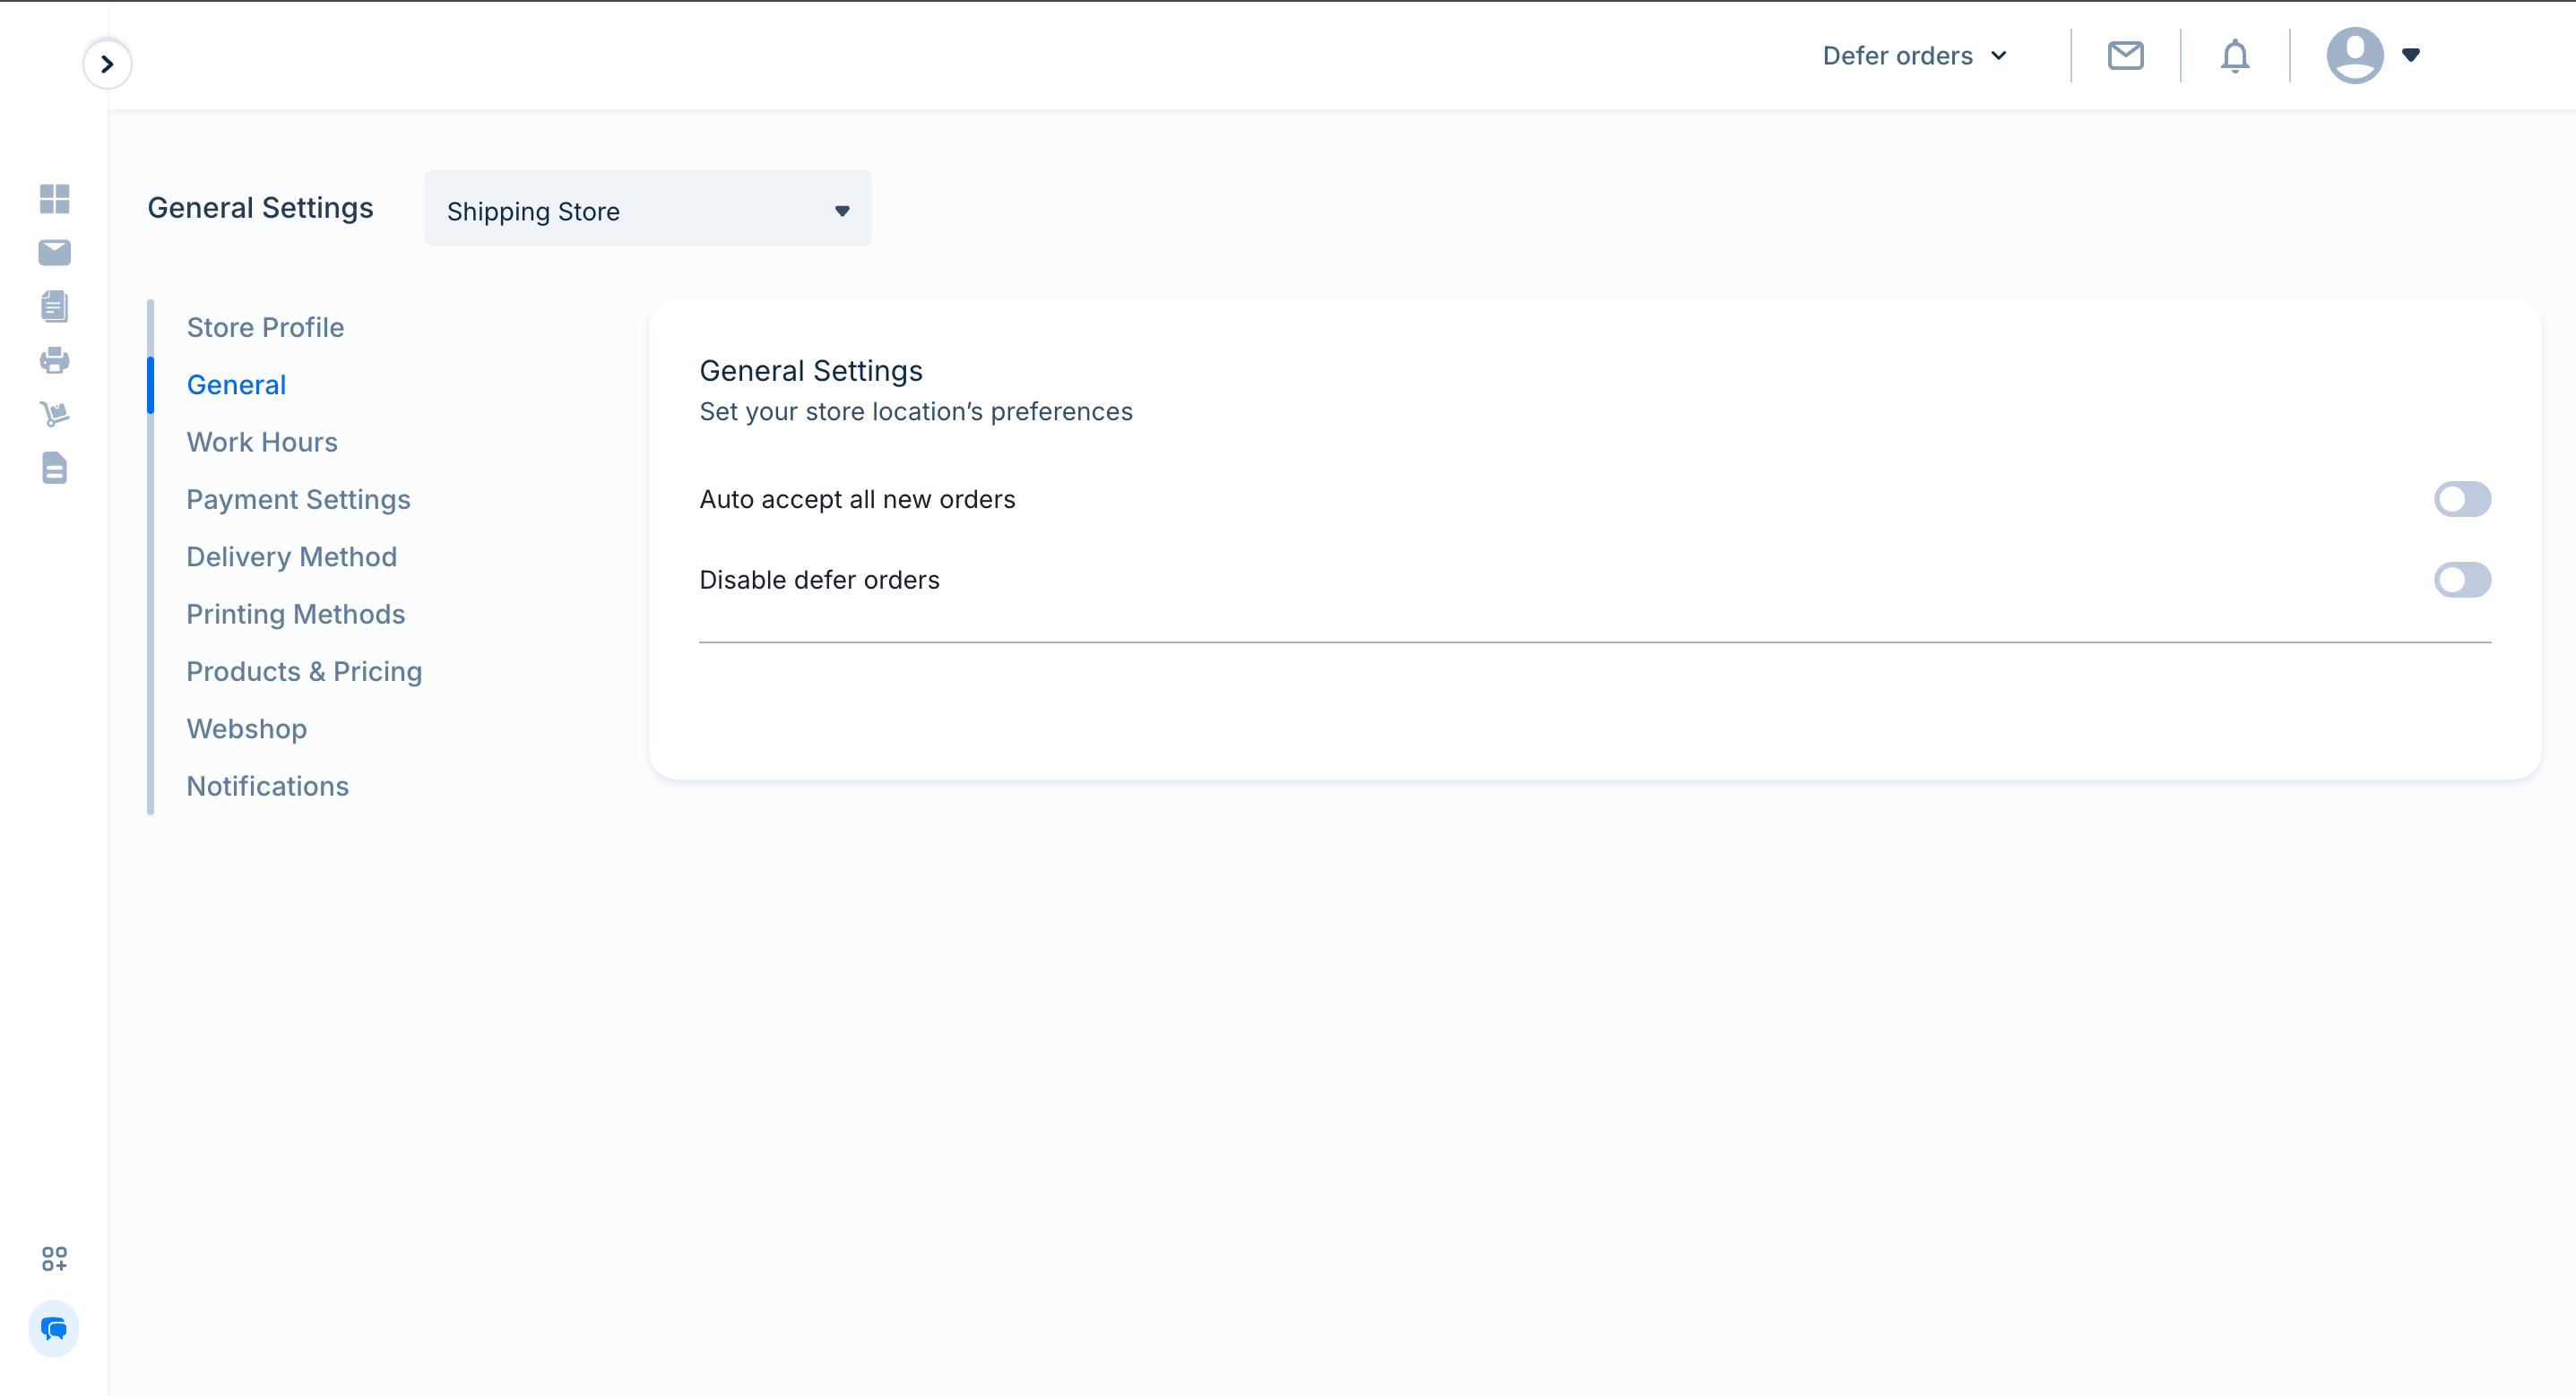
general
3
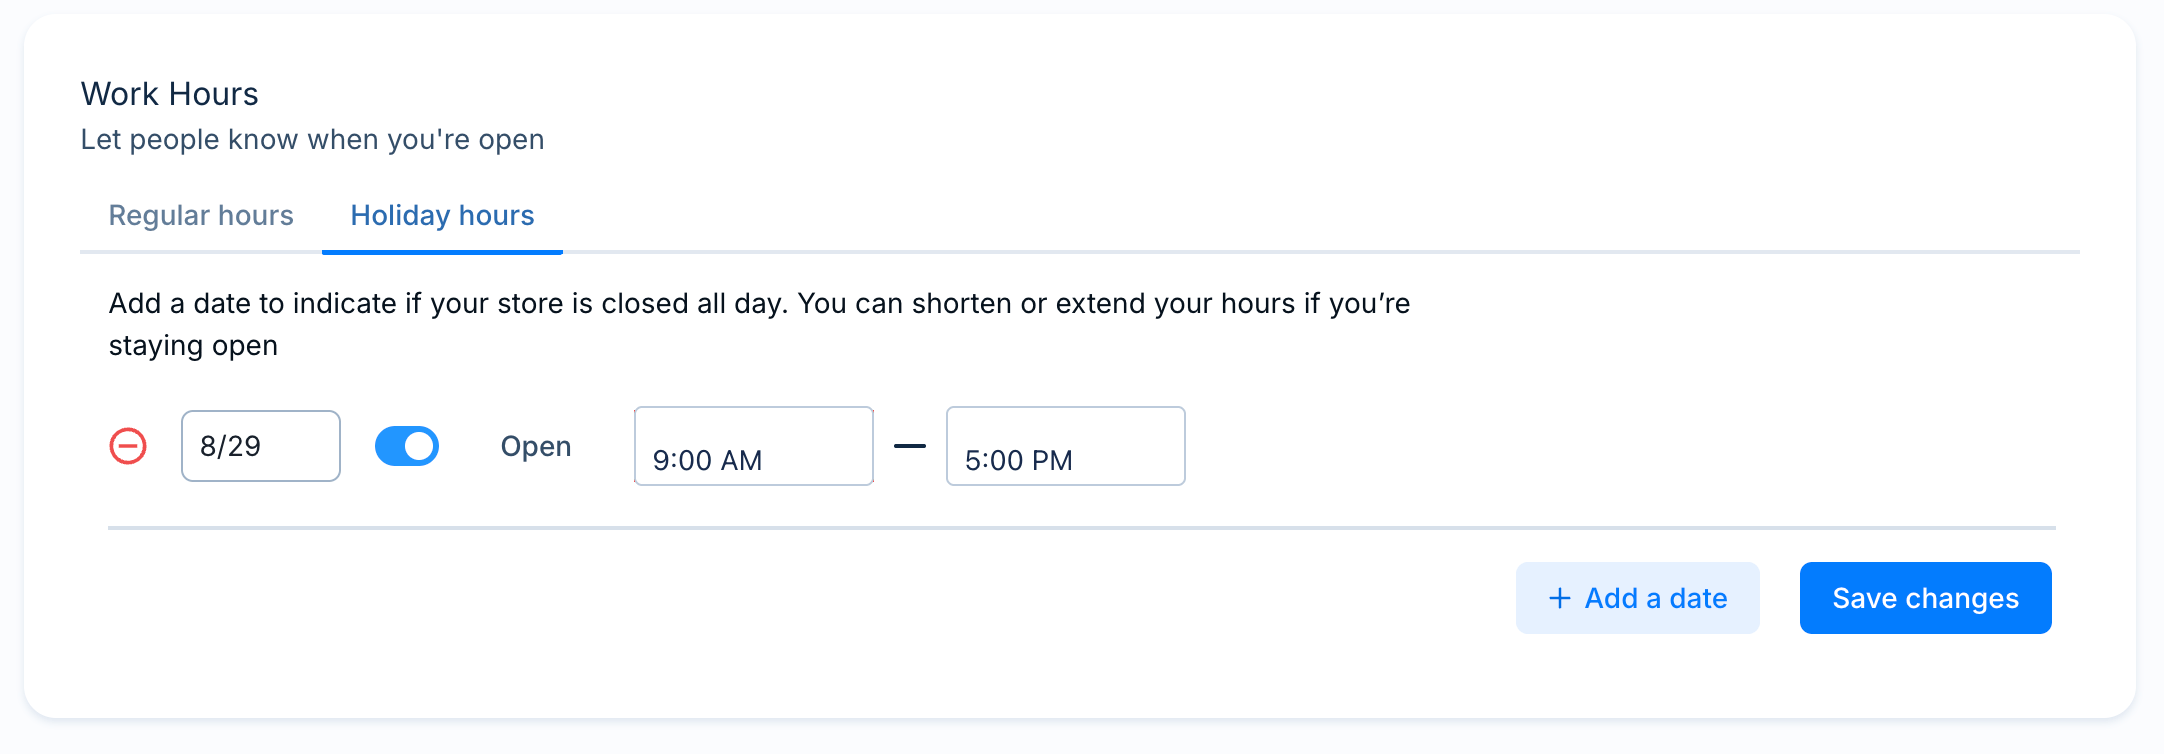
Work Hours
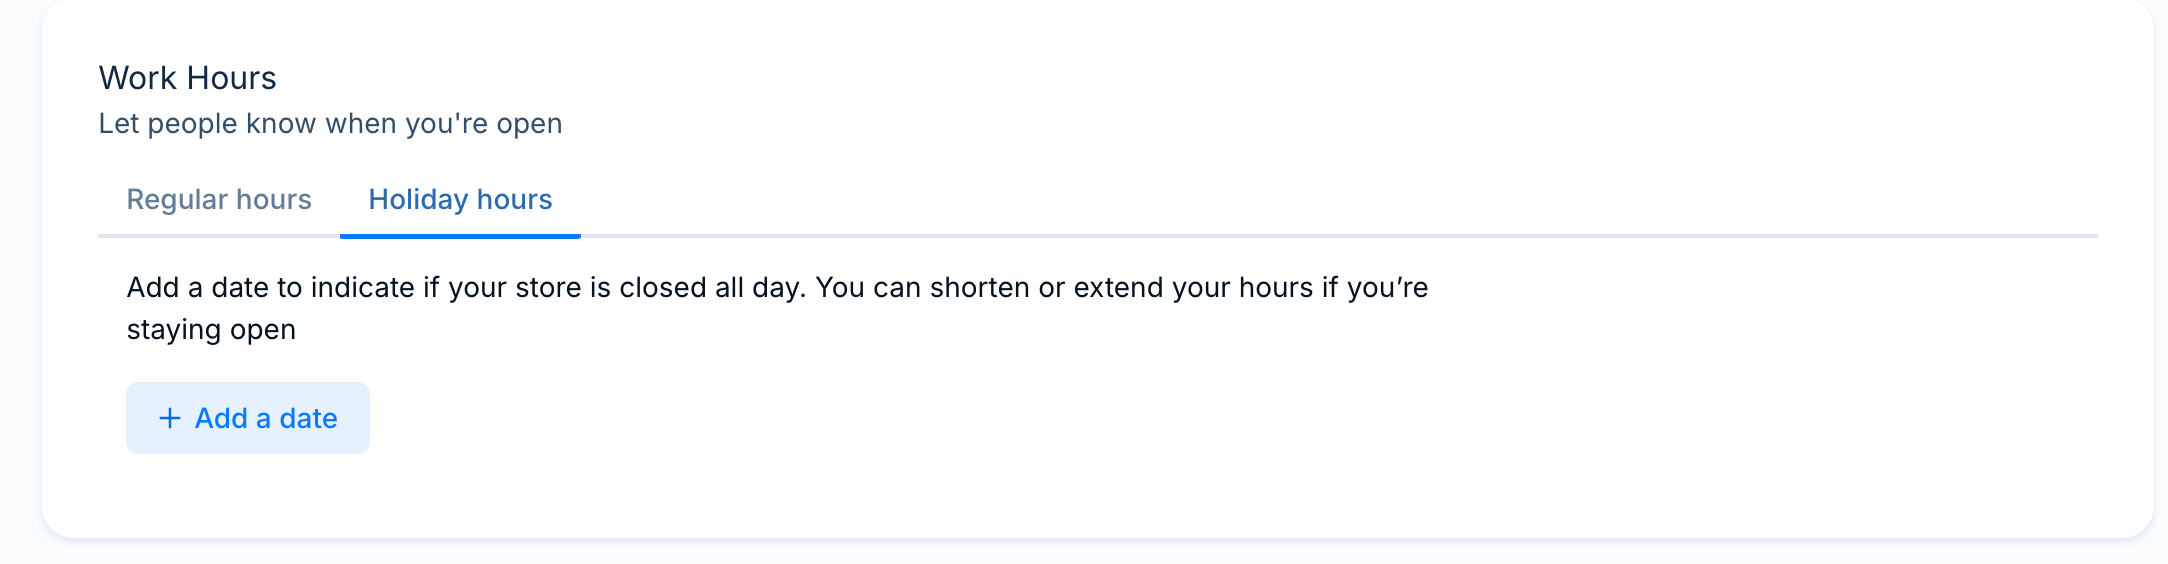
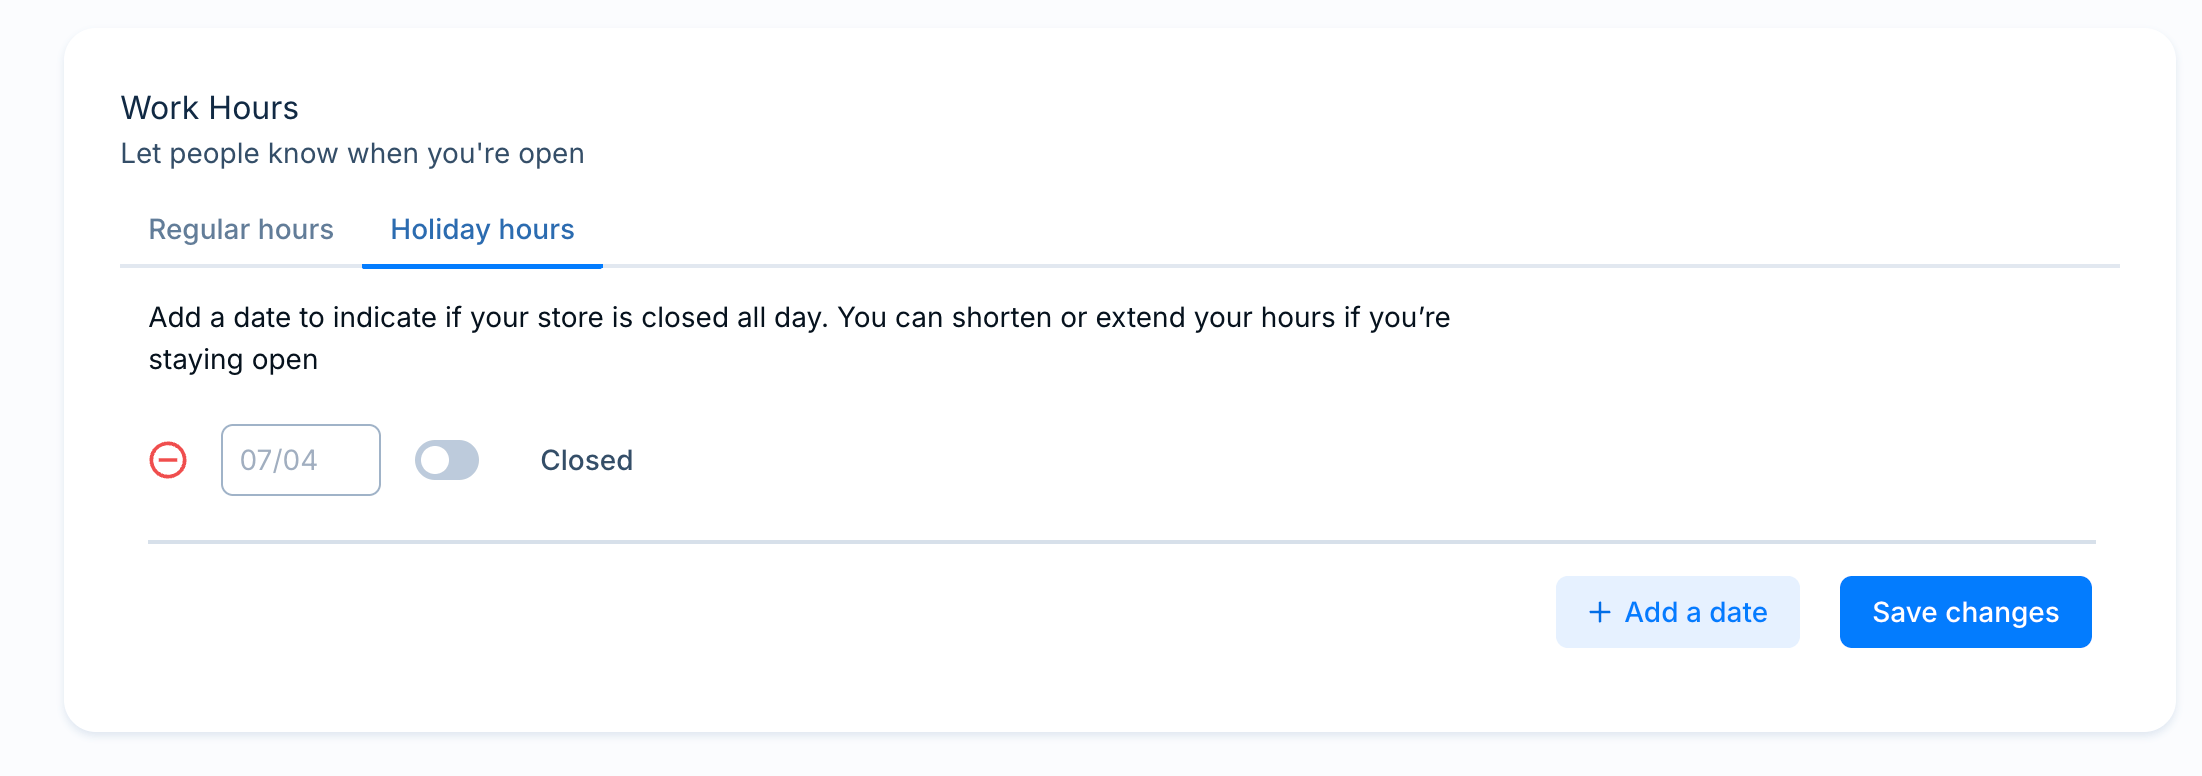
Regular hoursConfigure the days your store will be open and the opening and closing hours for each day you activate.
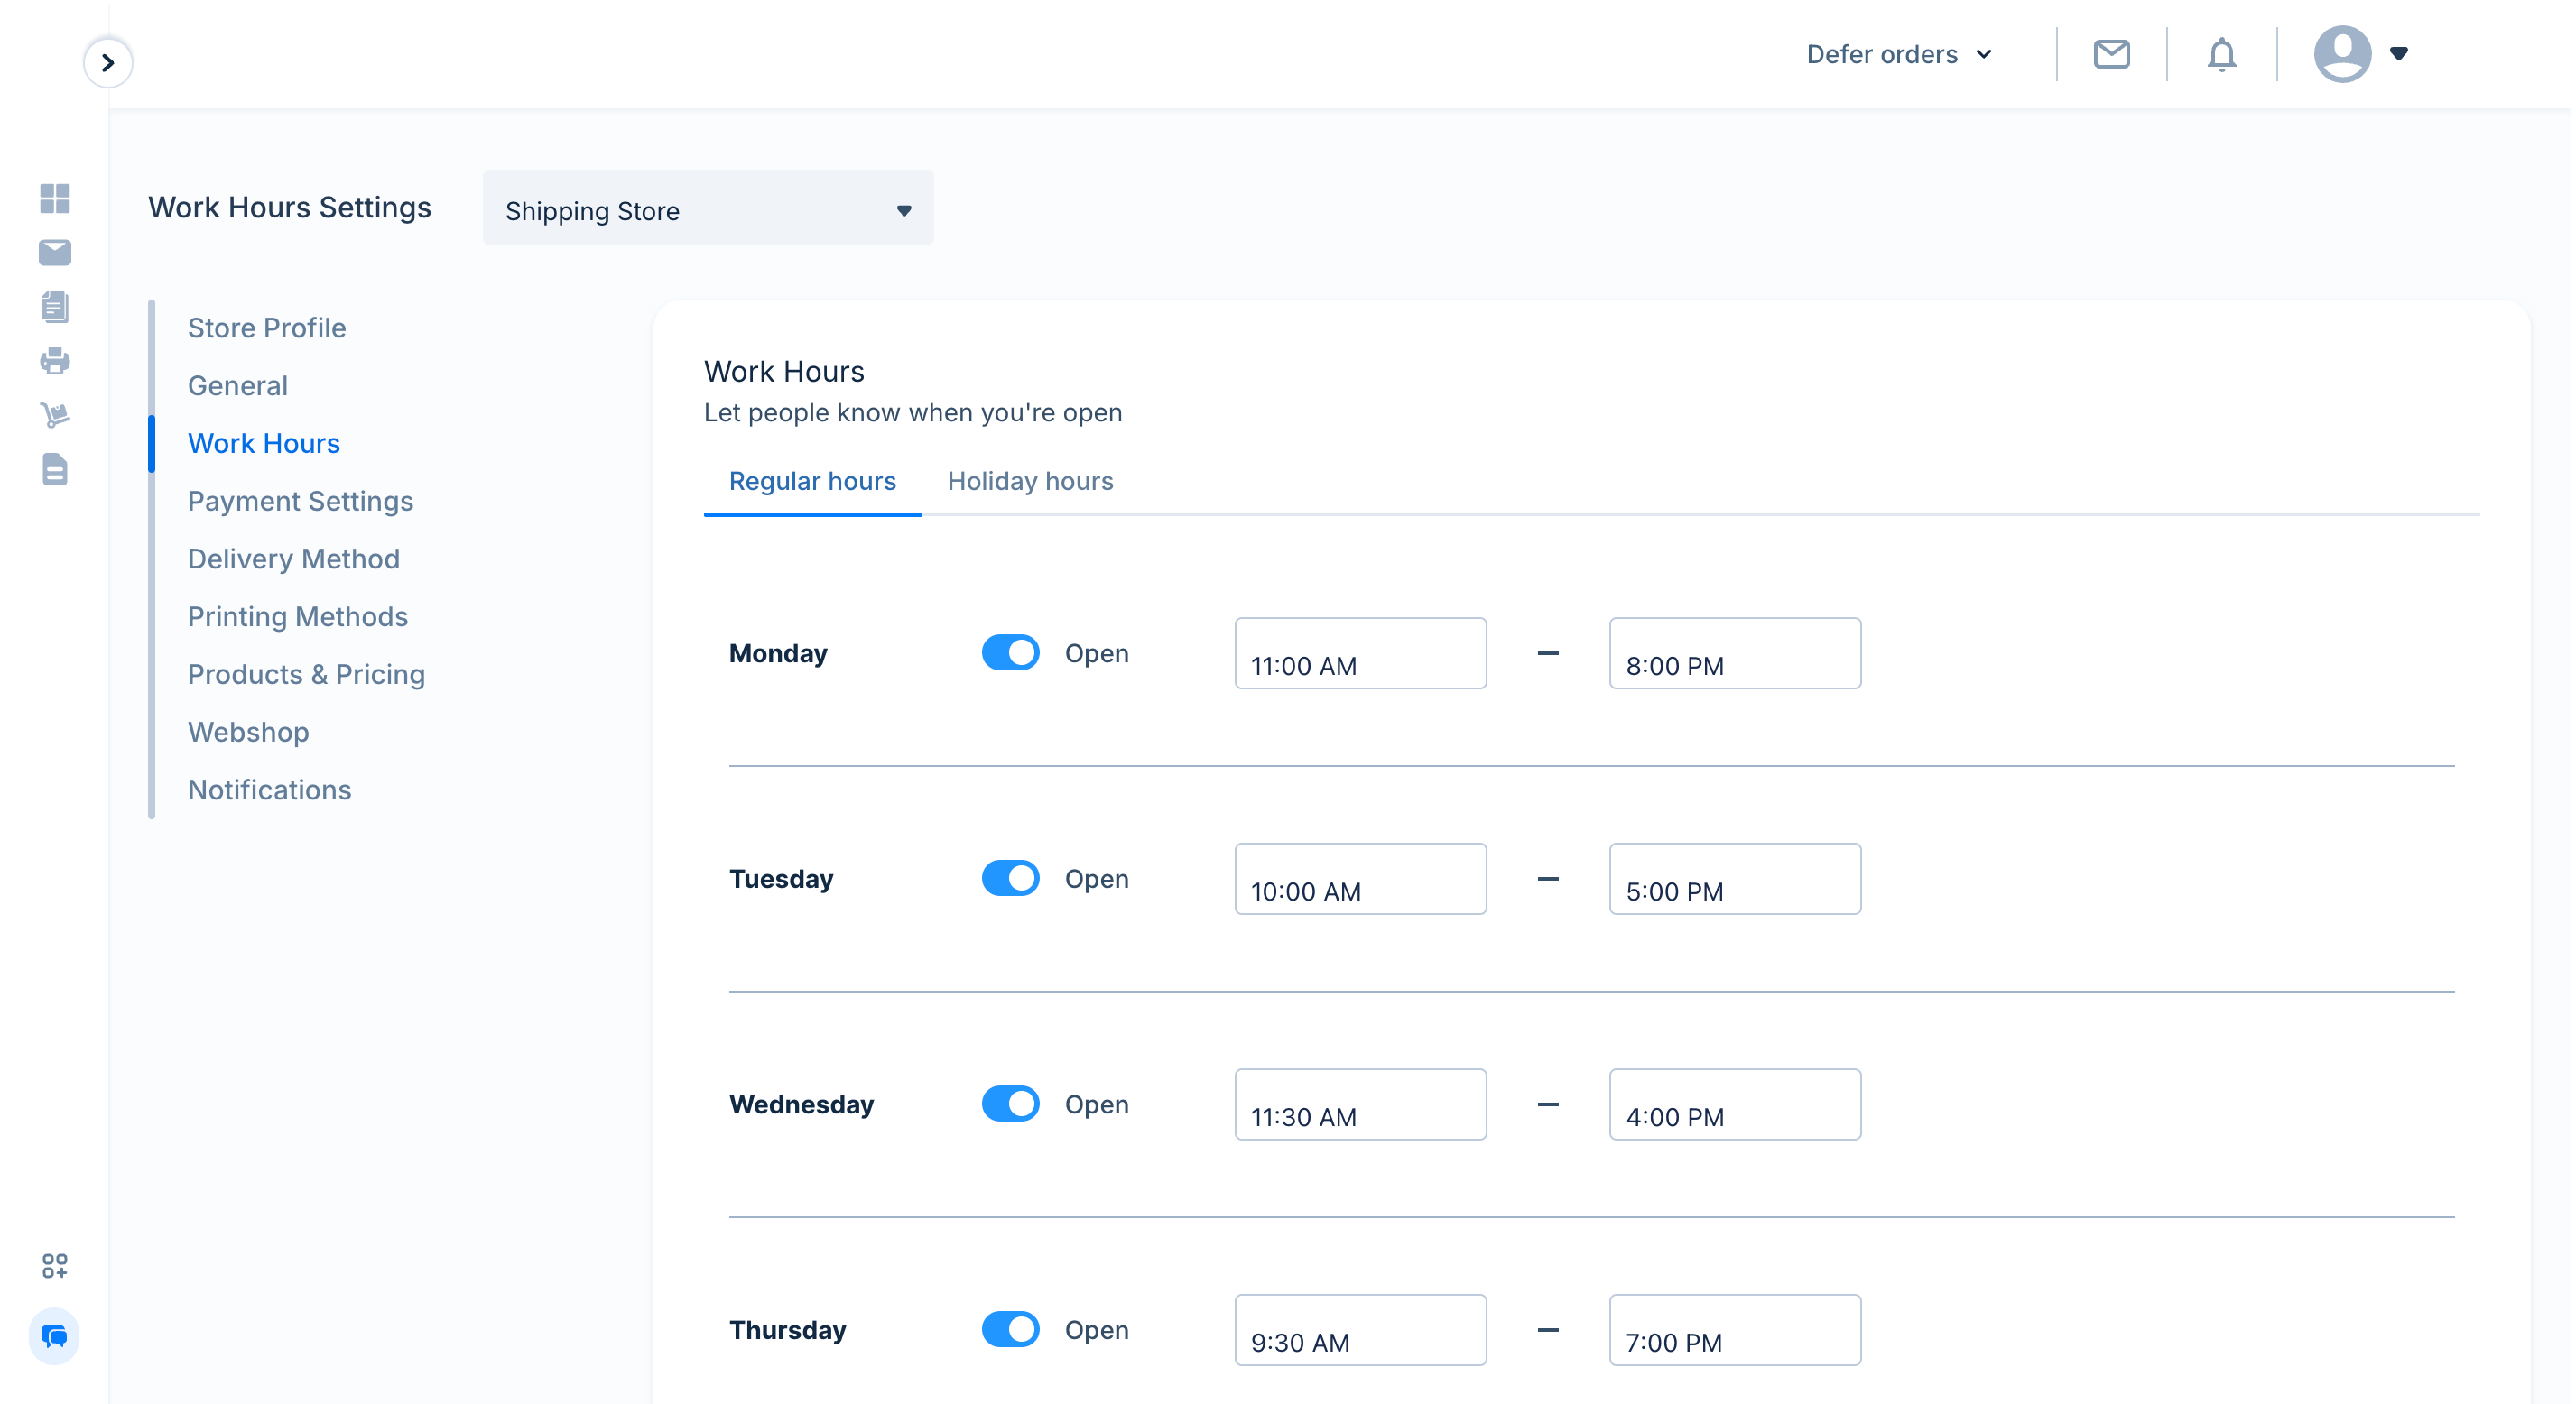
Regular hour setup
4
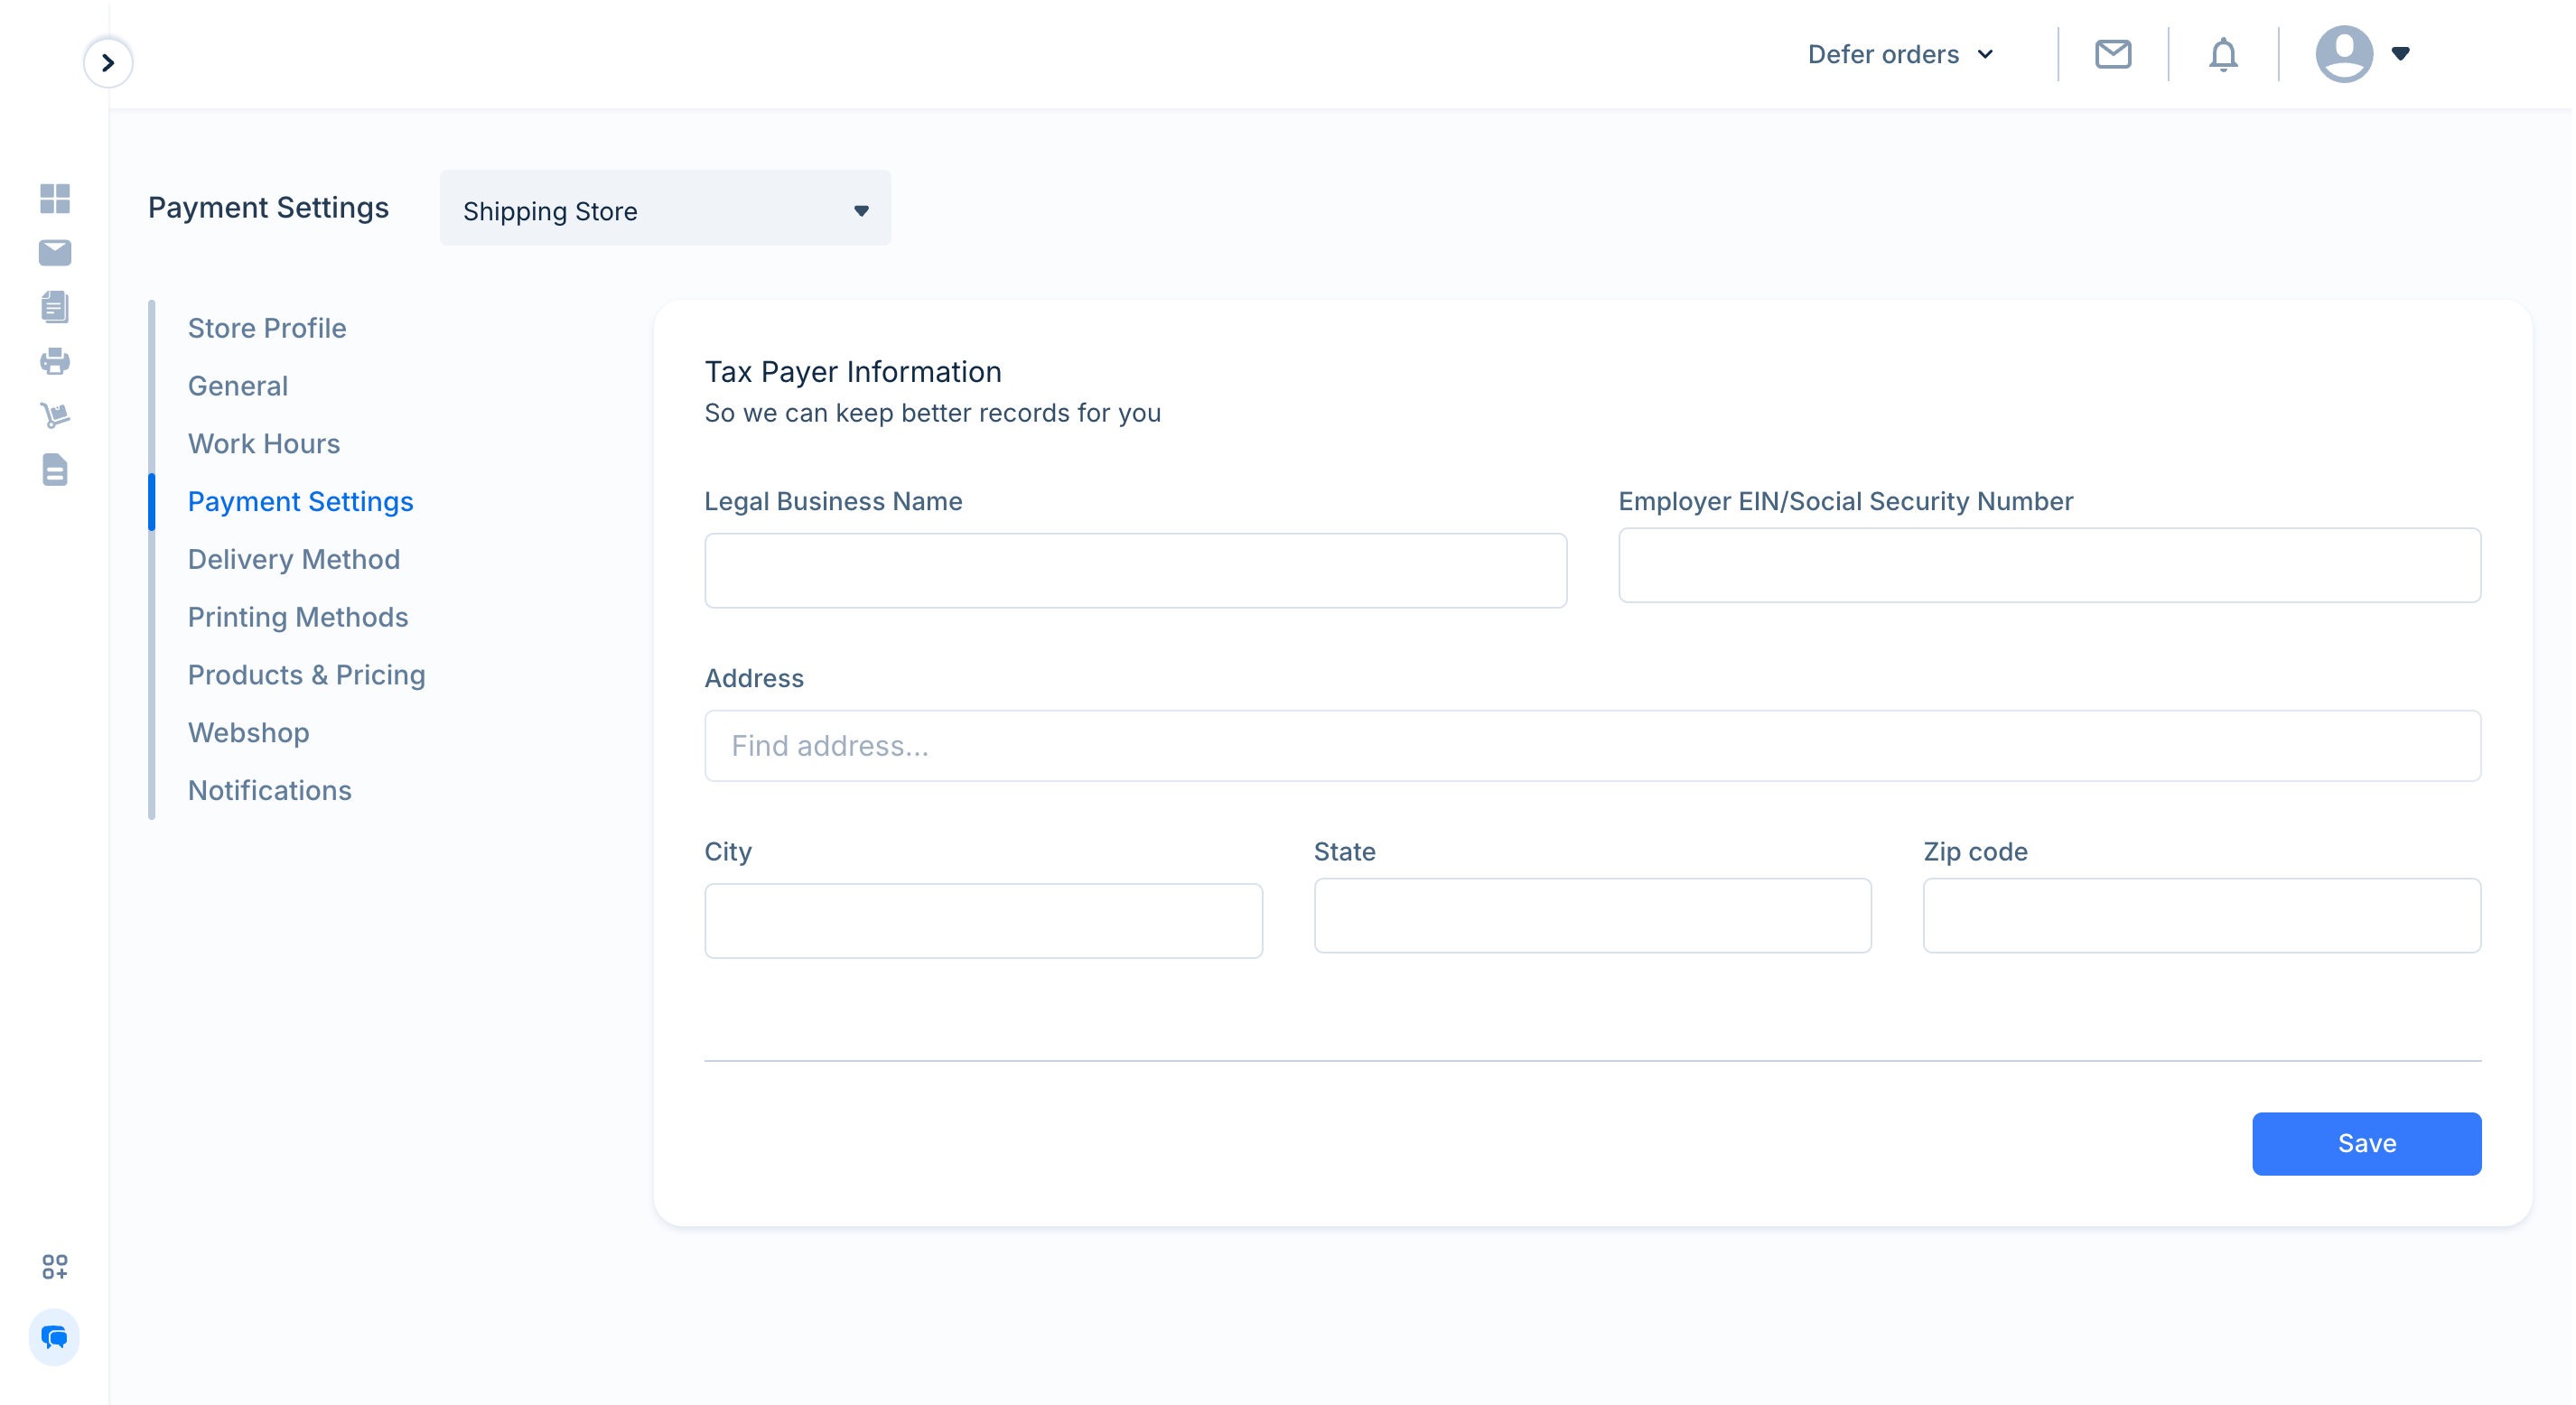
Payment Settings
This enables us to keep records of payouts made to stores for tax purposes.
Payment settings
5
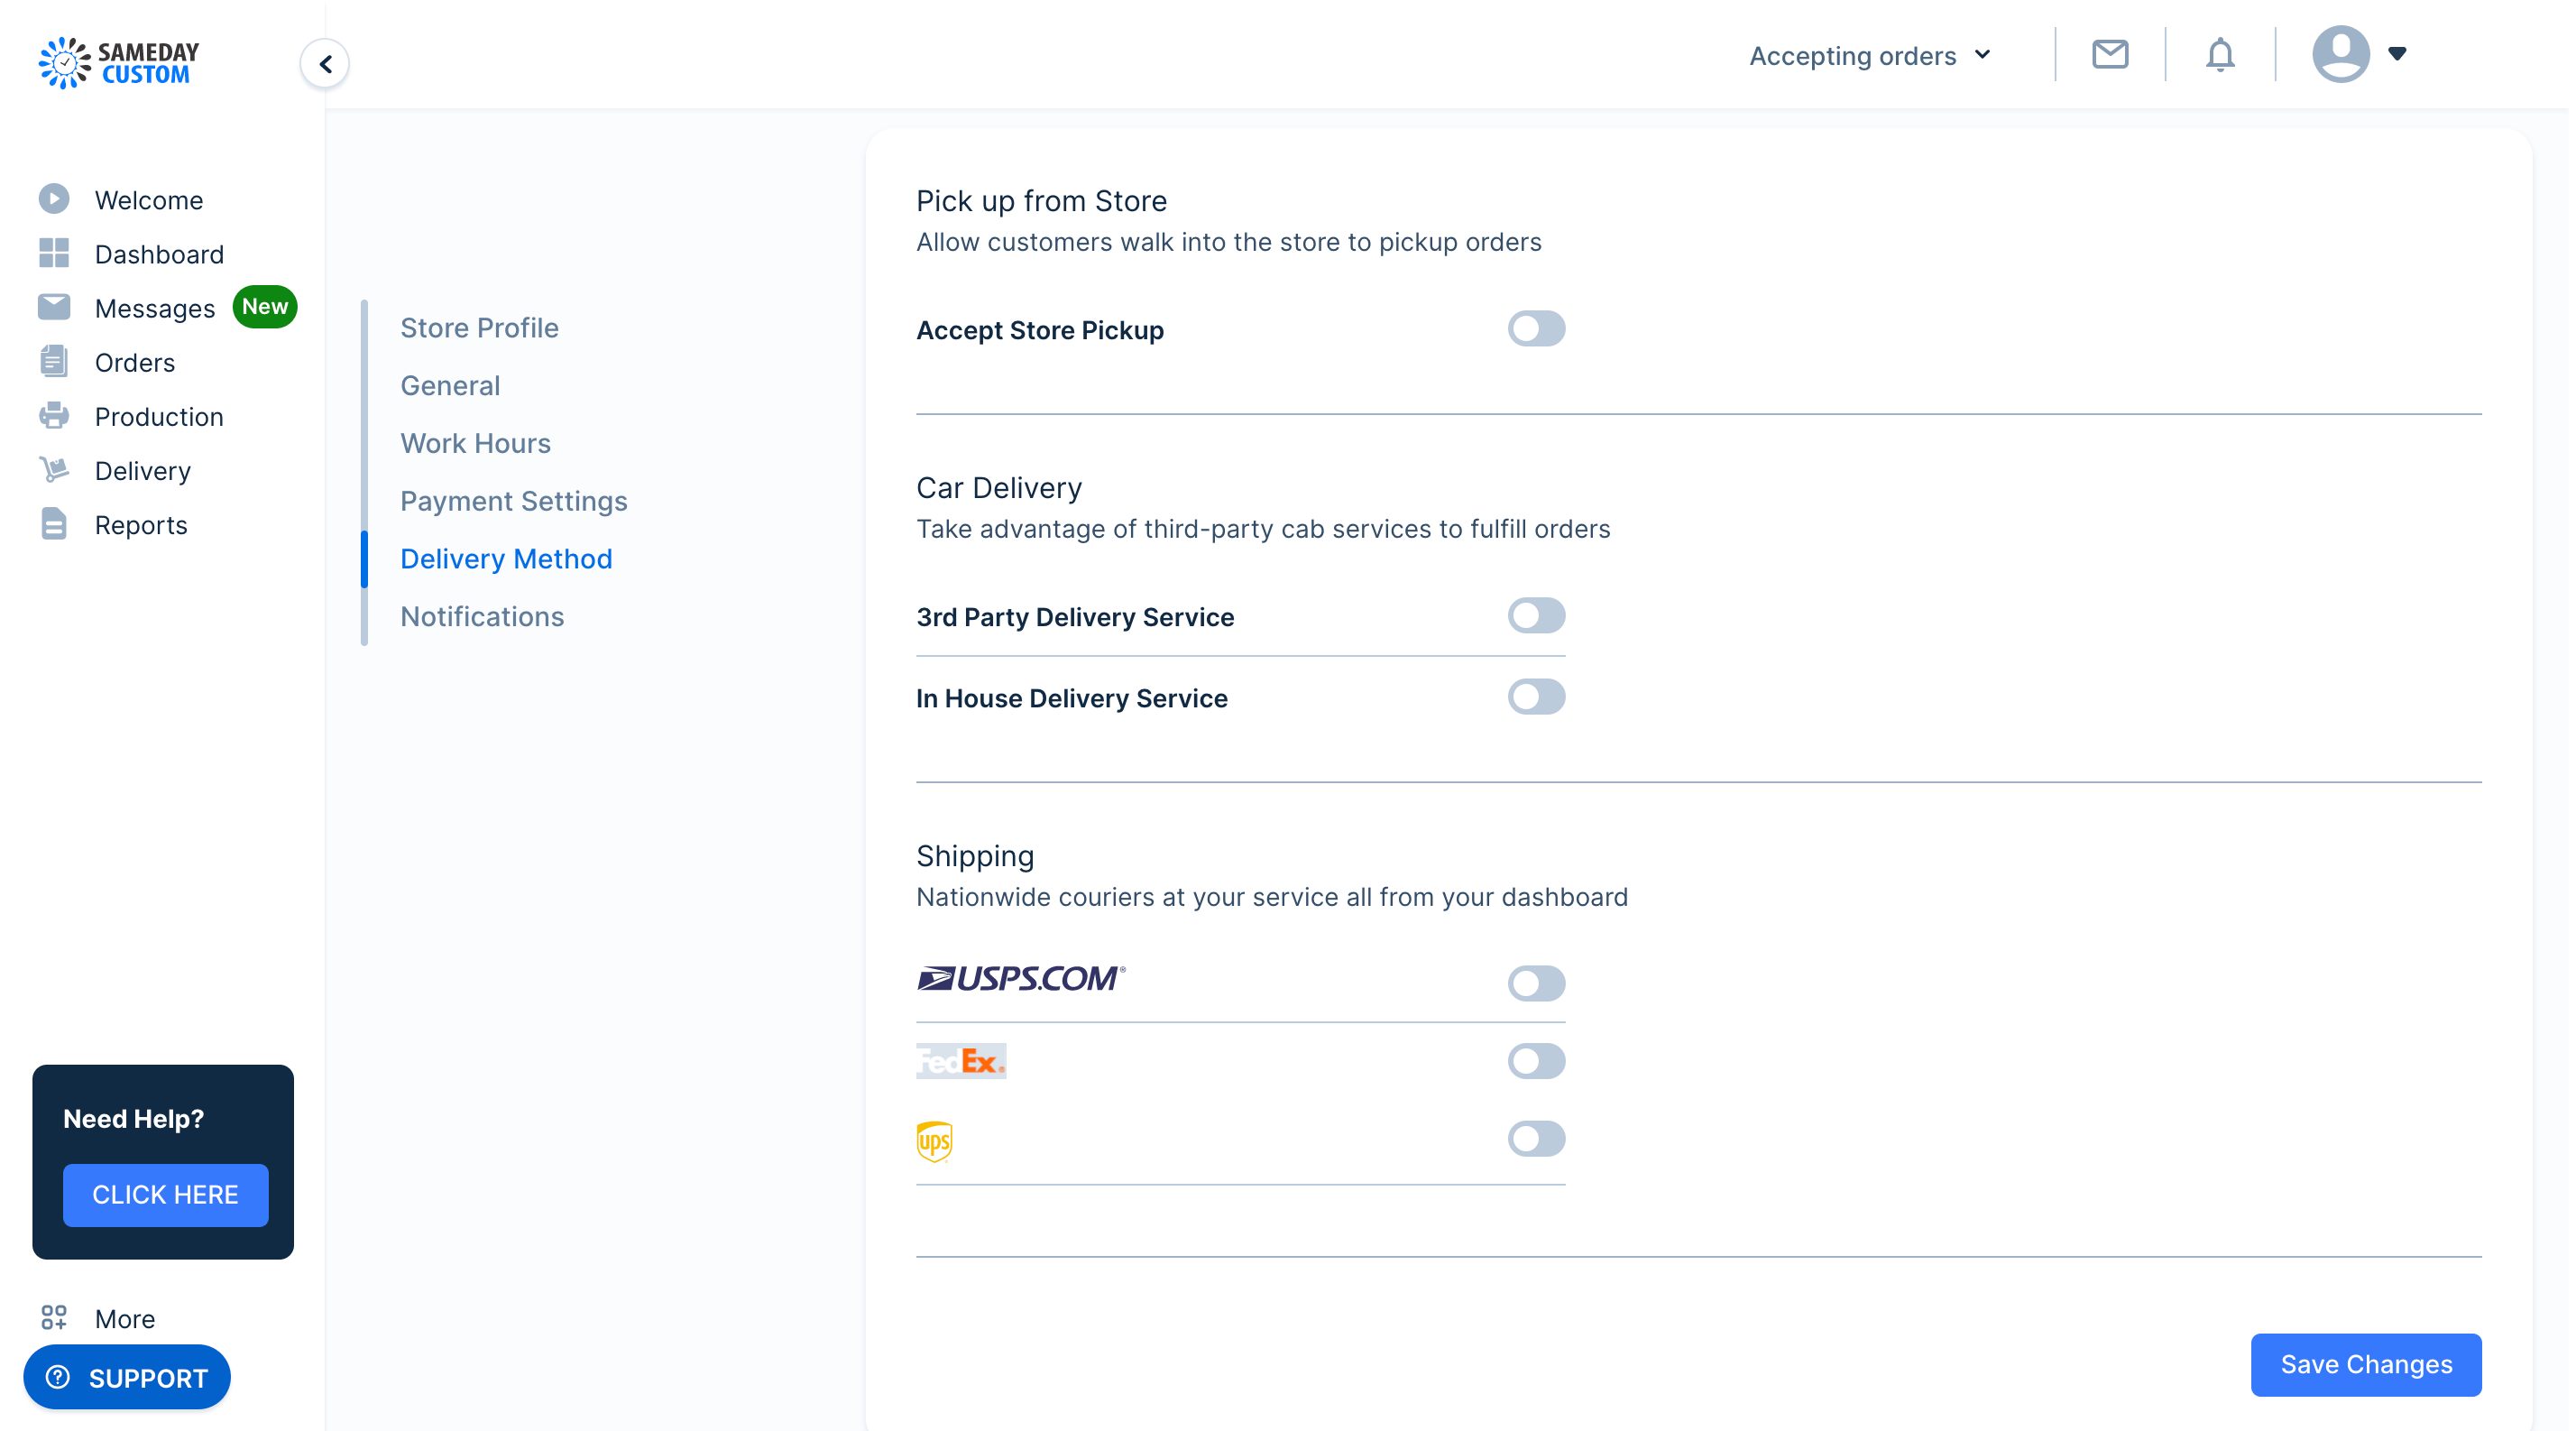
Delivery Method
You can enable the delivery methods available for this store location here.
Delivery Method
6
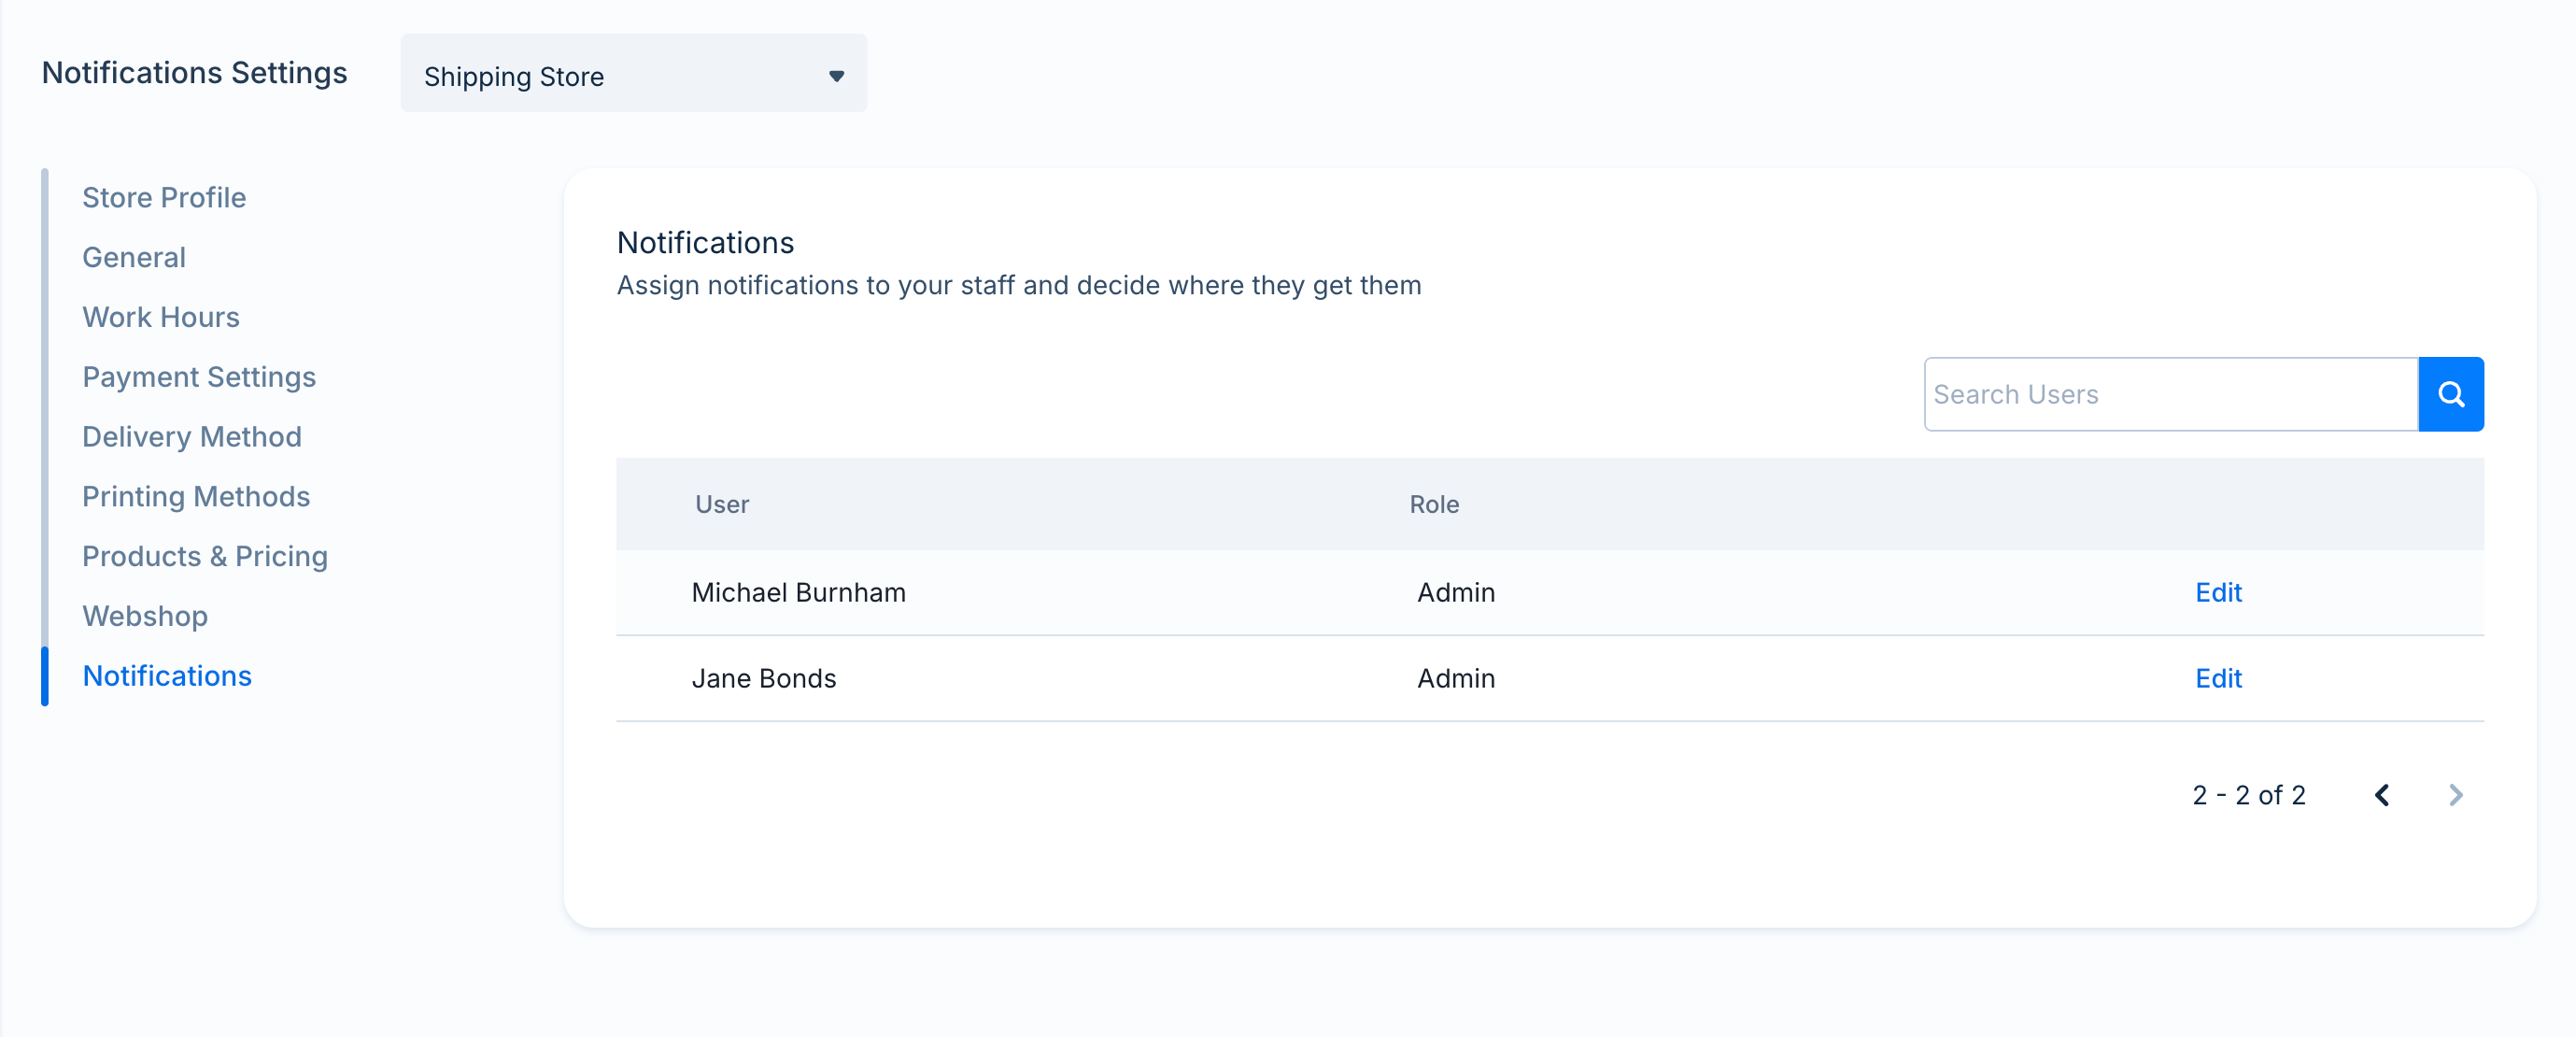
Notifications
Choose the types of notifications store-assigned users will receive, and specify if they should be sent by SMS, email, or both.
Notifications settings
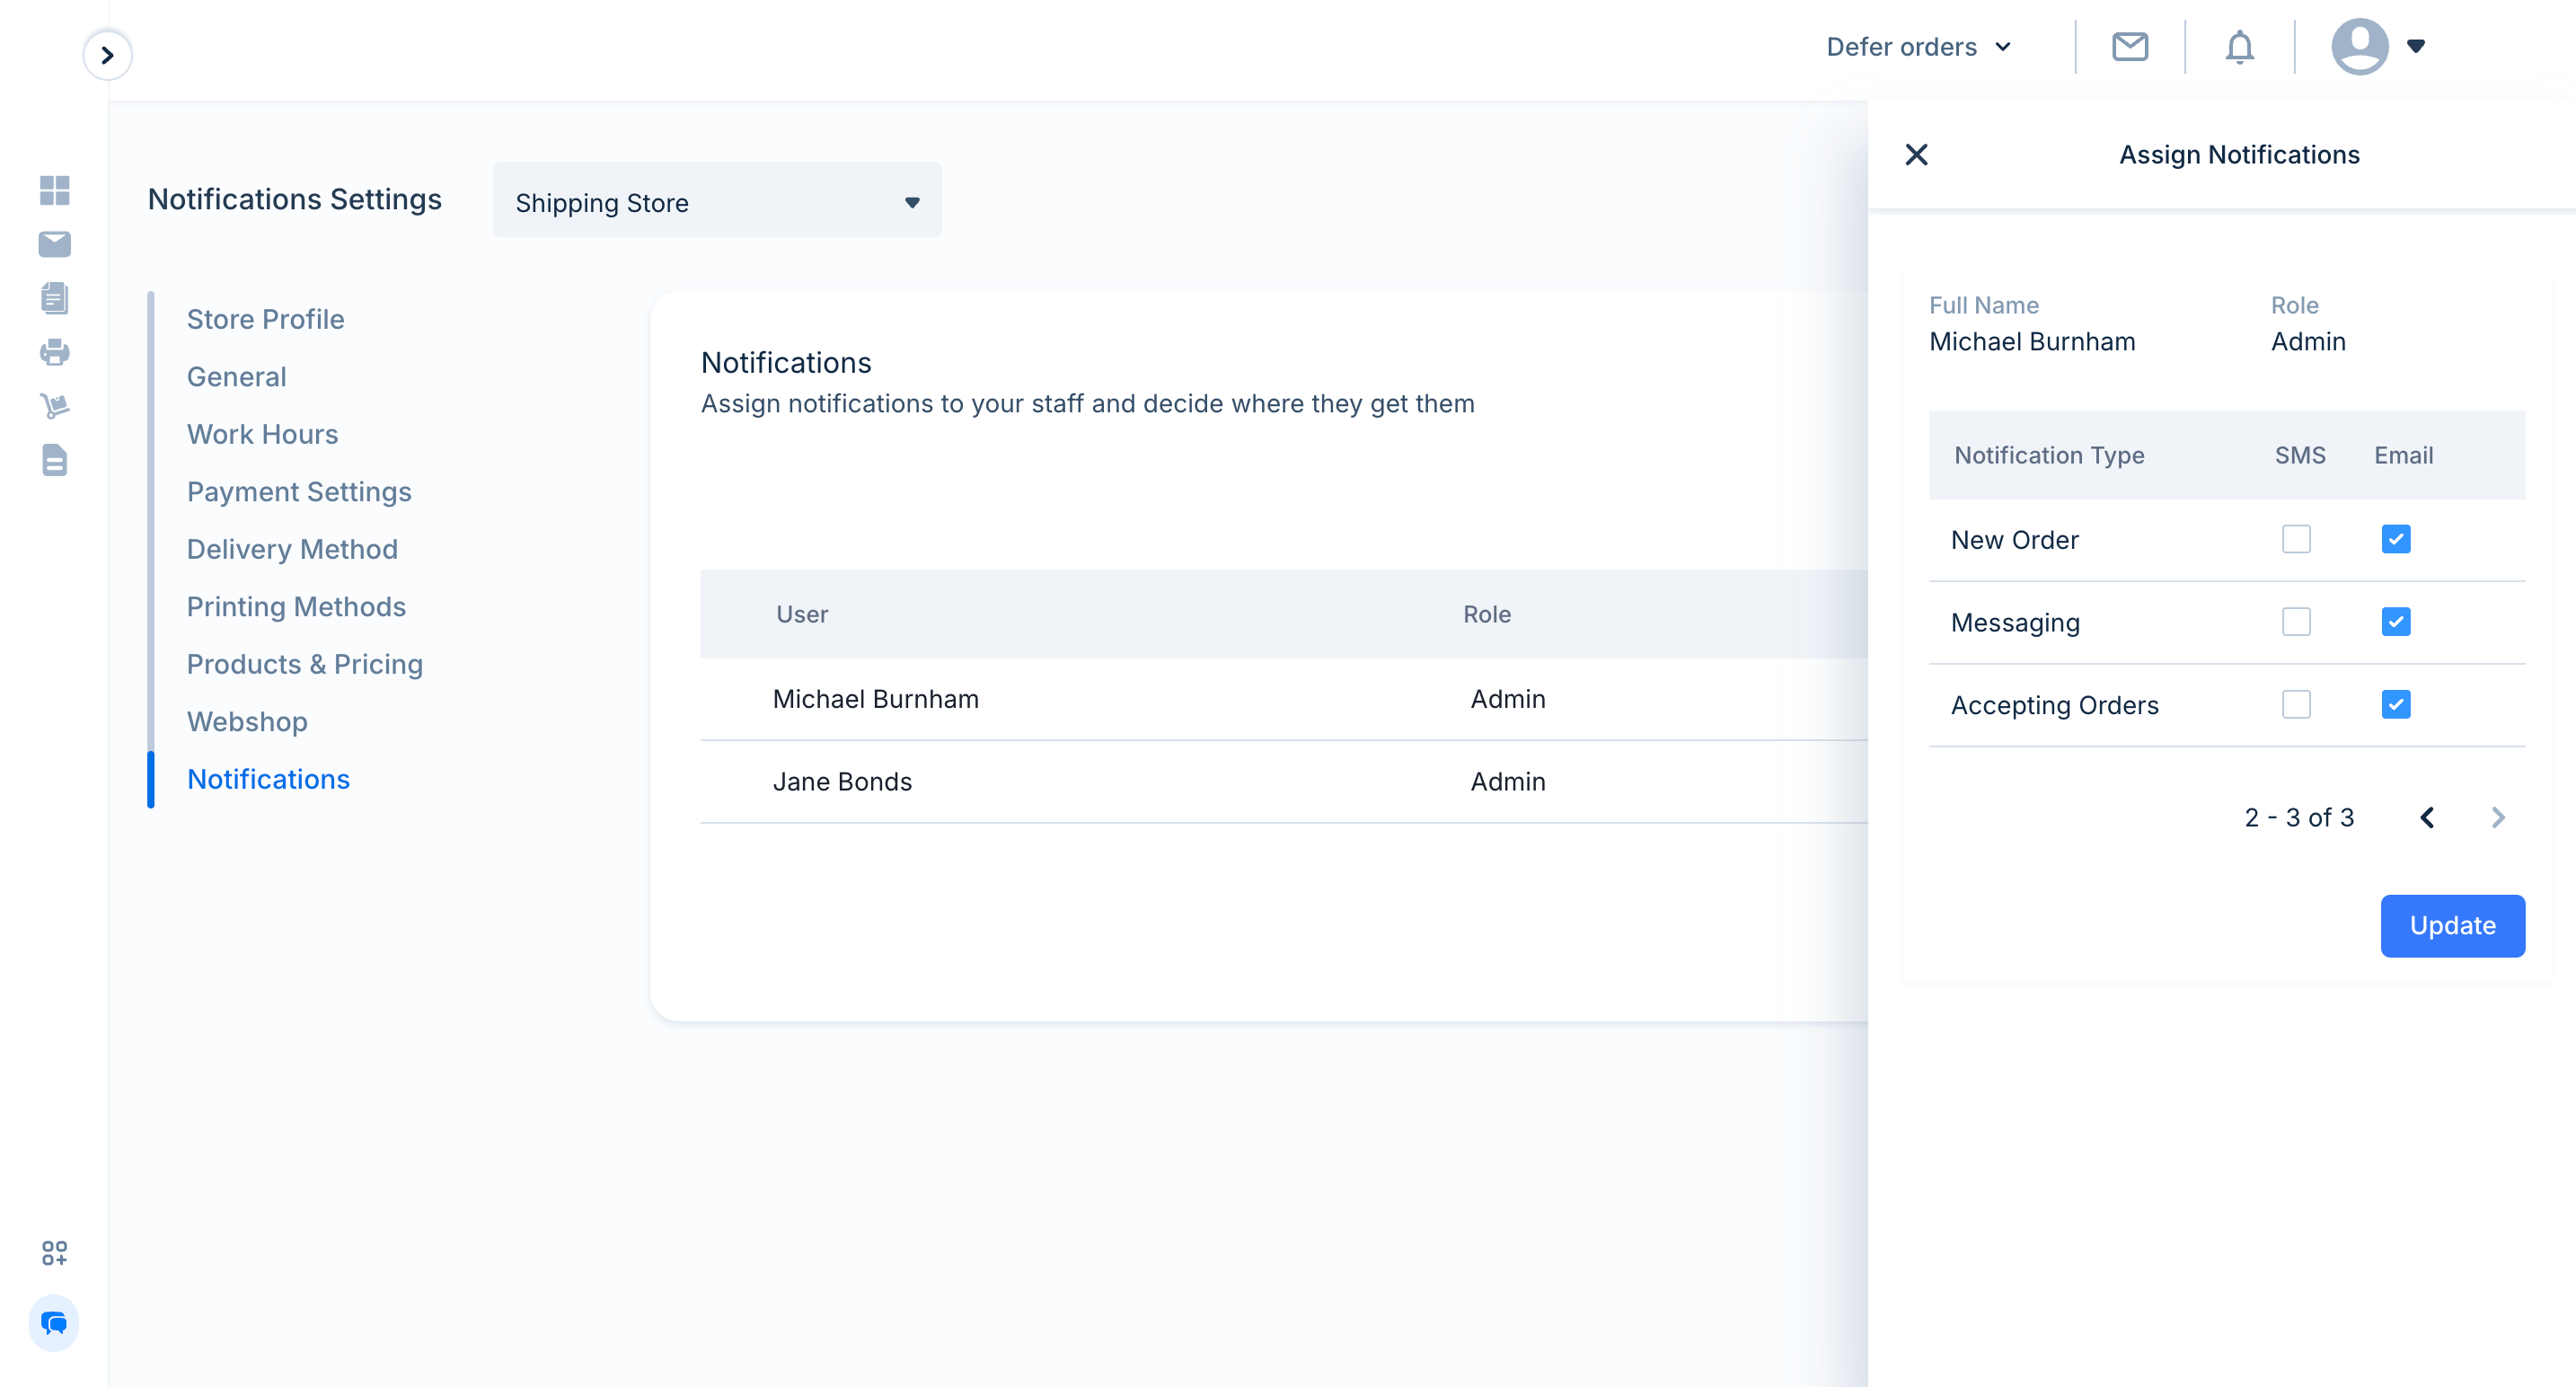
Assign Notifications
7
Printing Methods
This allows you specify what product printing methods you offer at your store location.
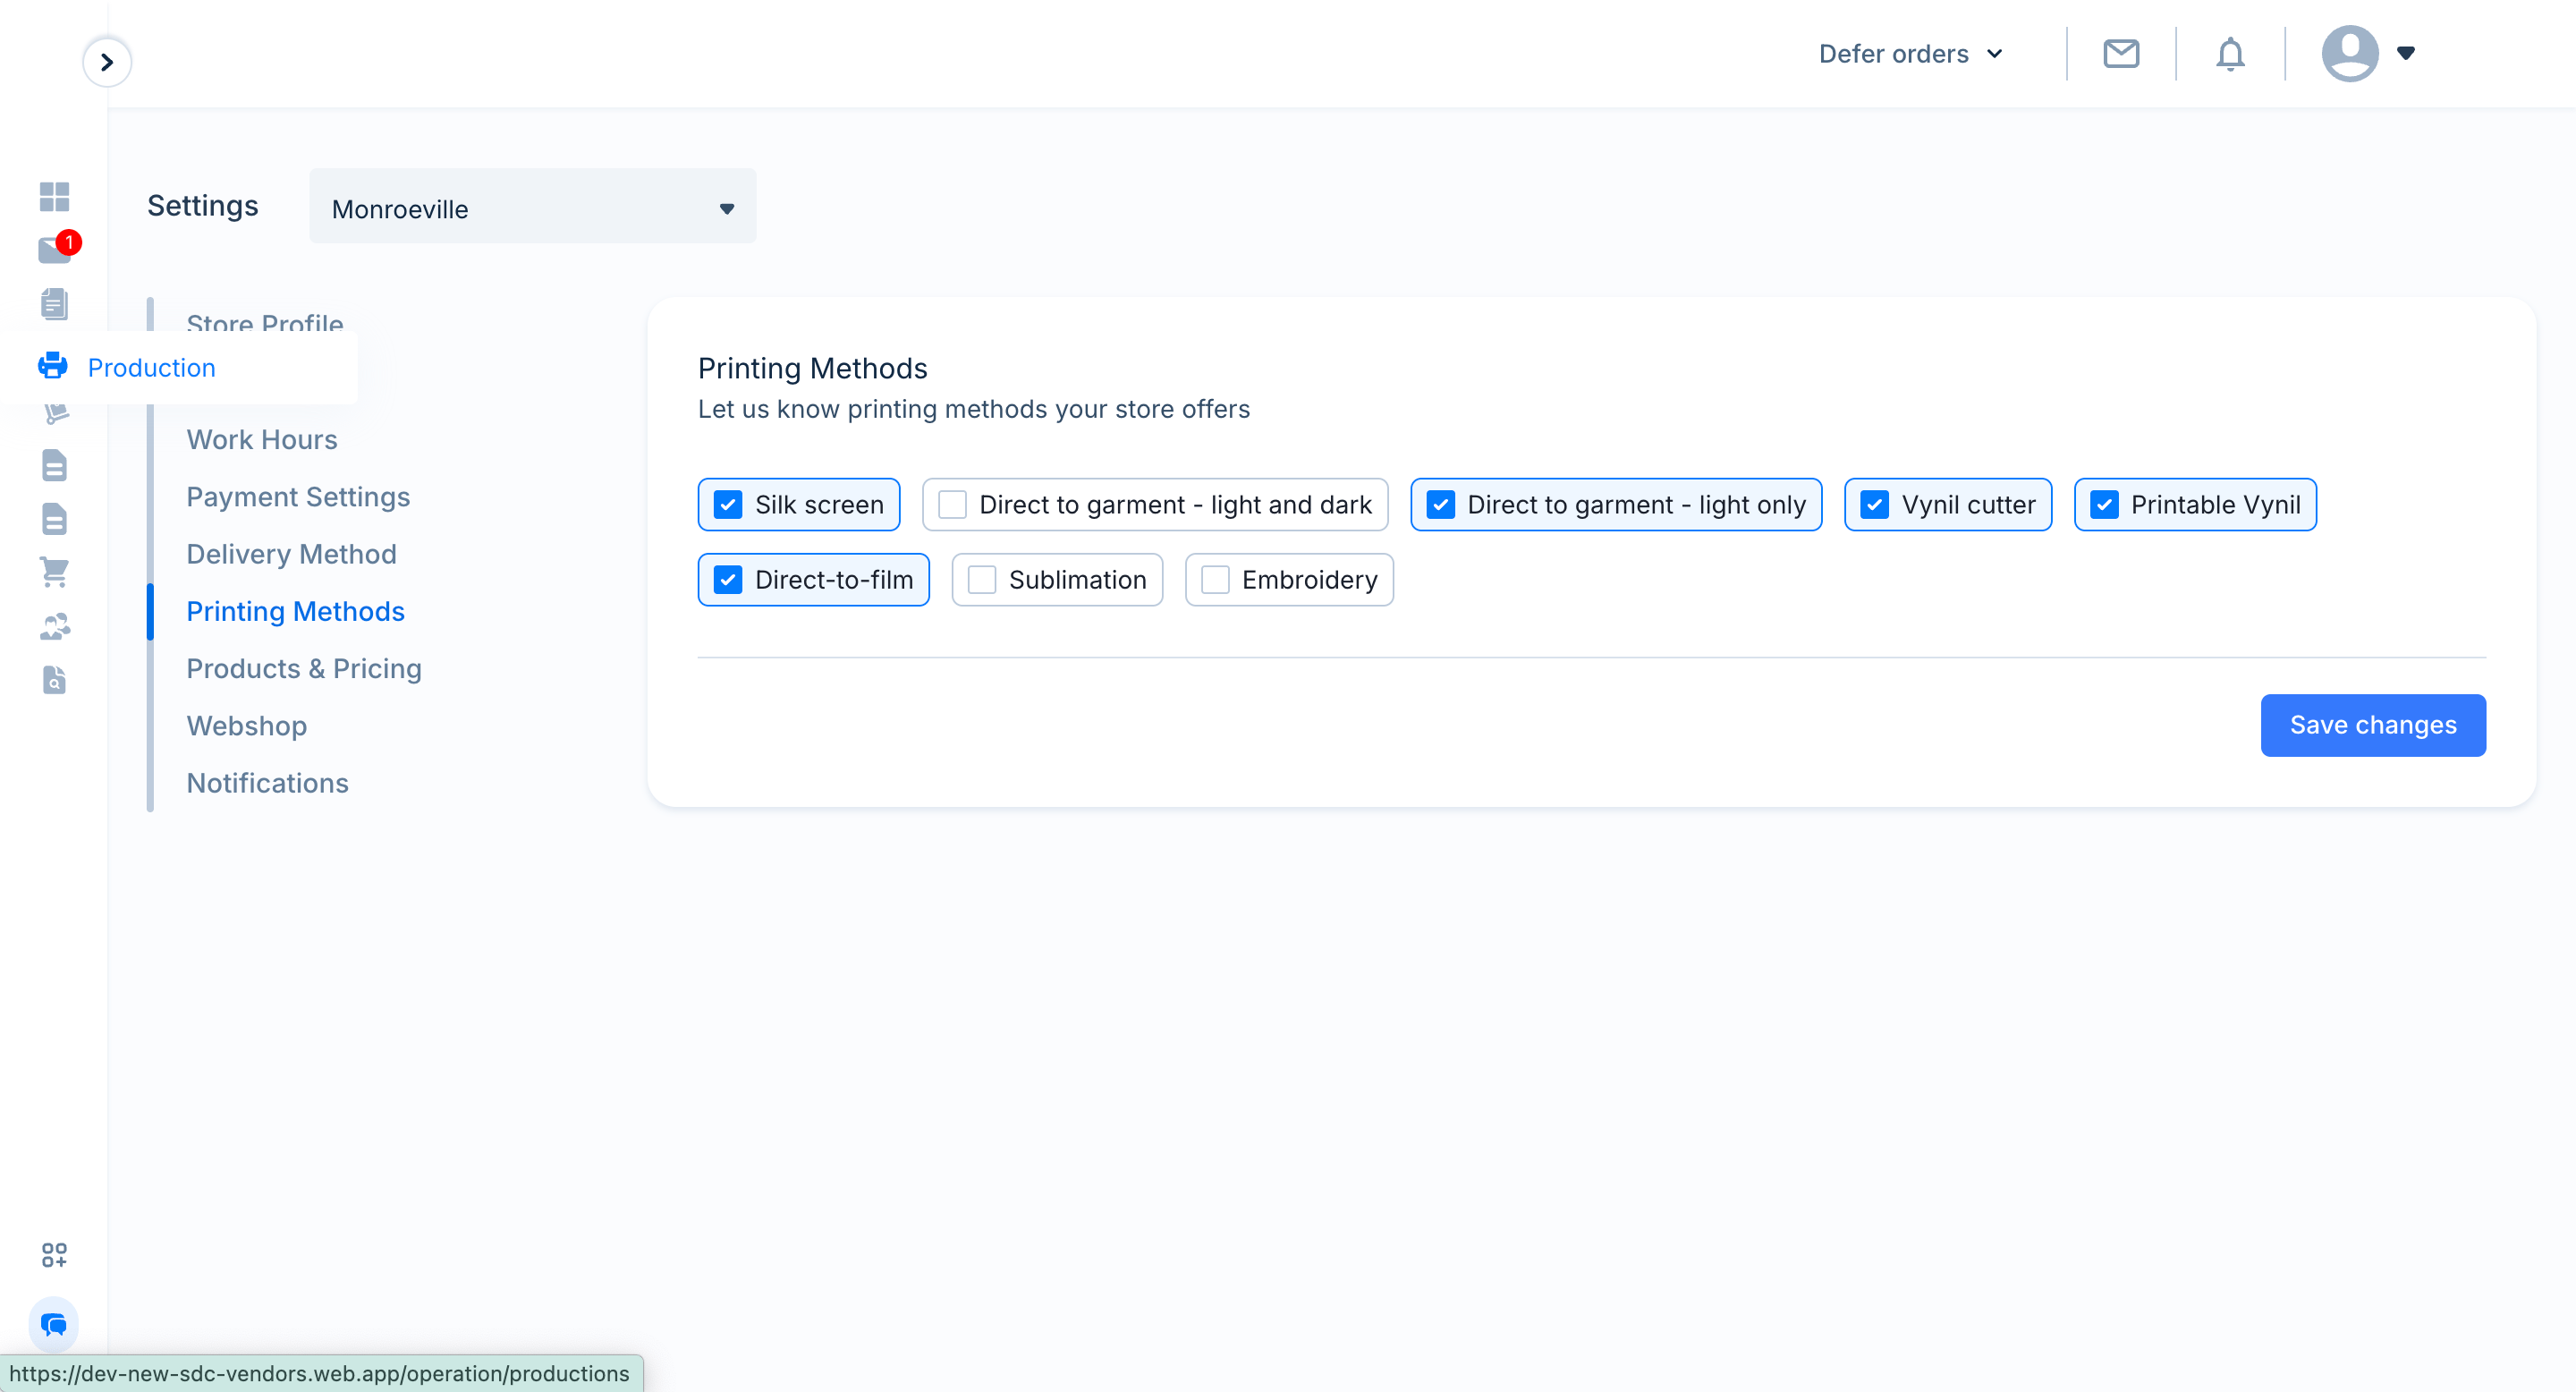
Printing methods setup
8
Products & Pricing
You can configure products, sizes and colors for the inventory in your store from this page.There are certain rules to setting up a product that you must know;
- You cannot set a product as available unless you set at least one color as available.
- You also cannot set a color as available unless you set at least one size, under that color, as available.
All store locations must carry the White Adult Unisex Crewneck Short Sleeve T-shirt. Each newly created store location will have the product and color added to their store as a default.
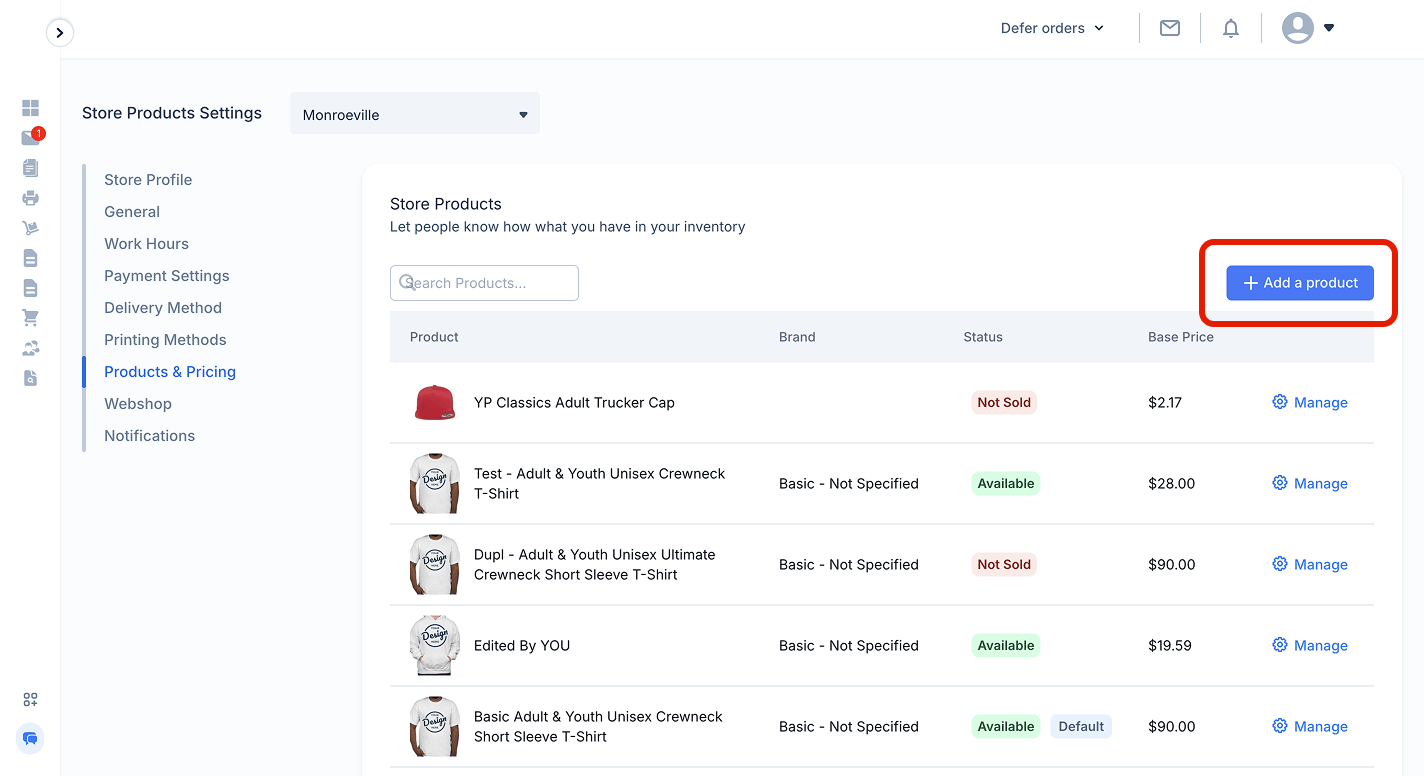
- To add a product simply click on the Add a product button.
- A modal will be shown to you where you can search for a product. Click the checkbox on each row for the products you want to add. Click Add selected products when you are done.
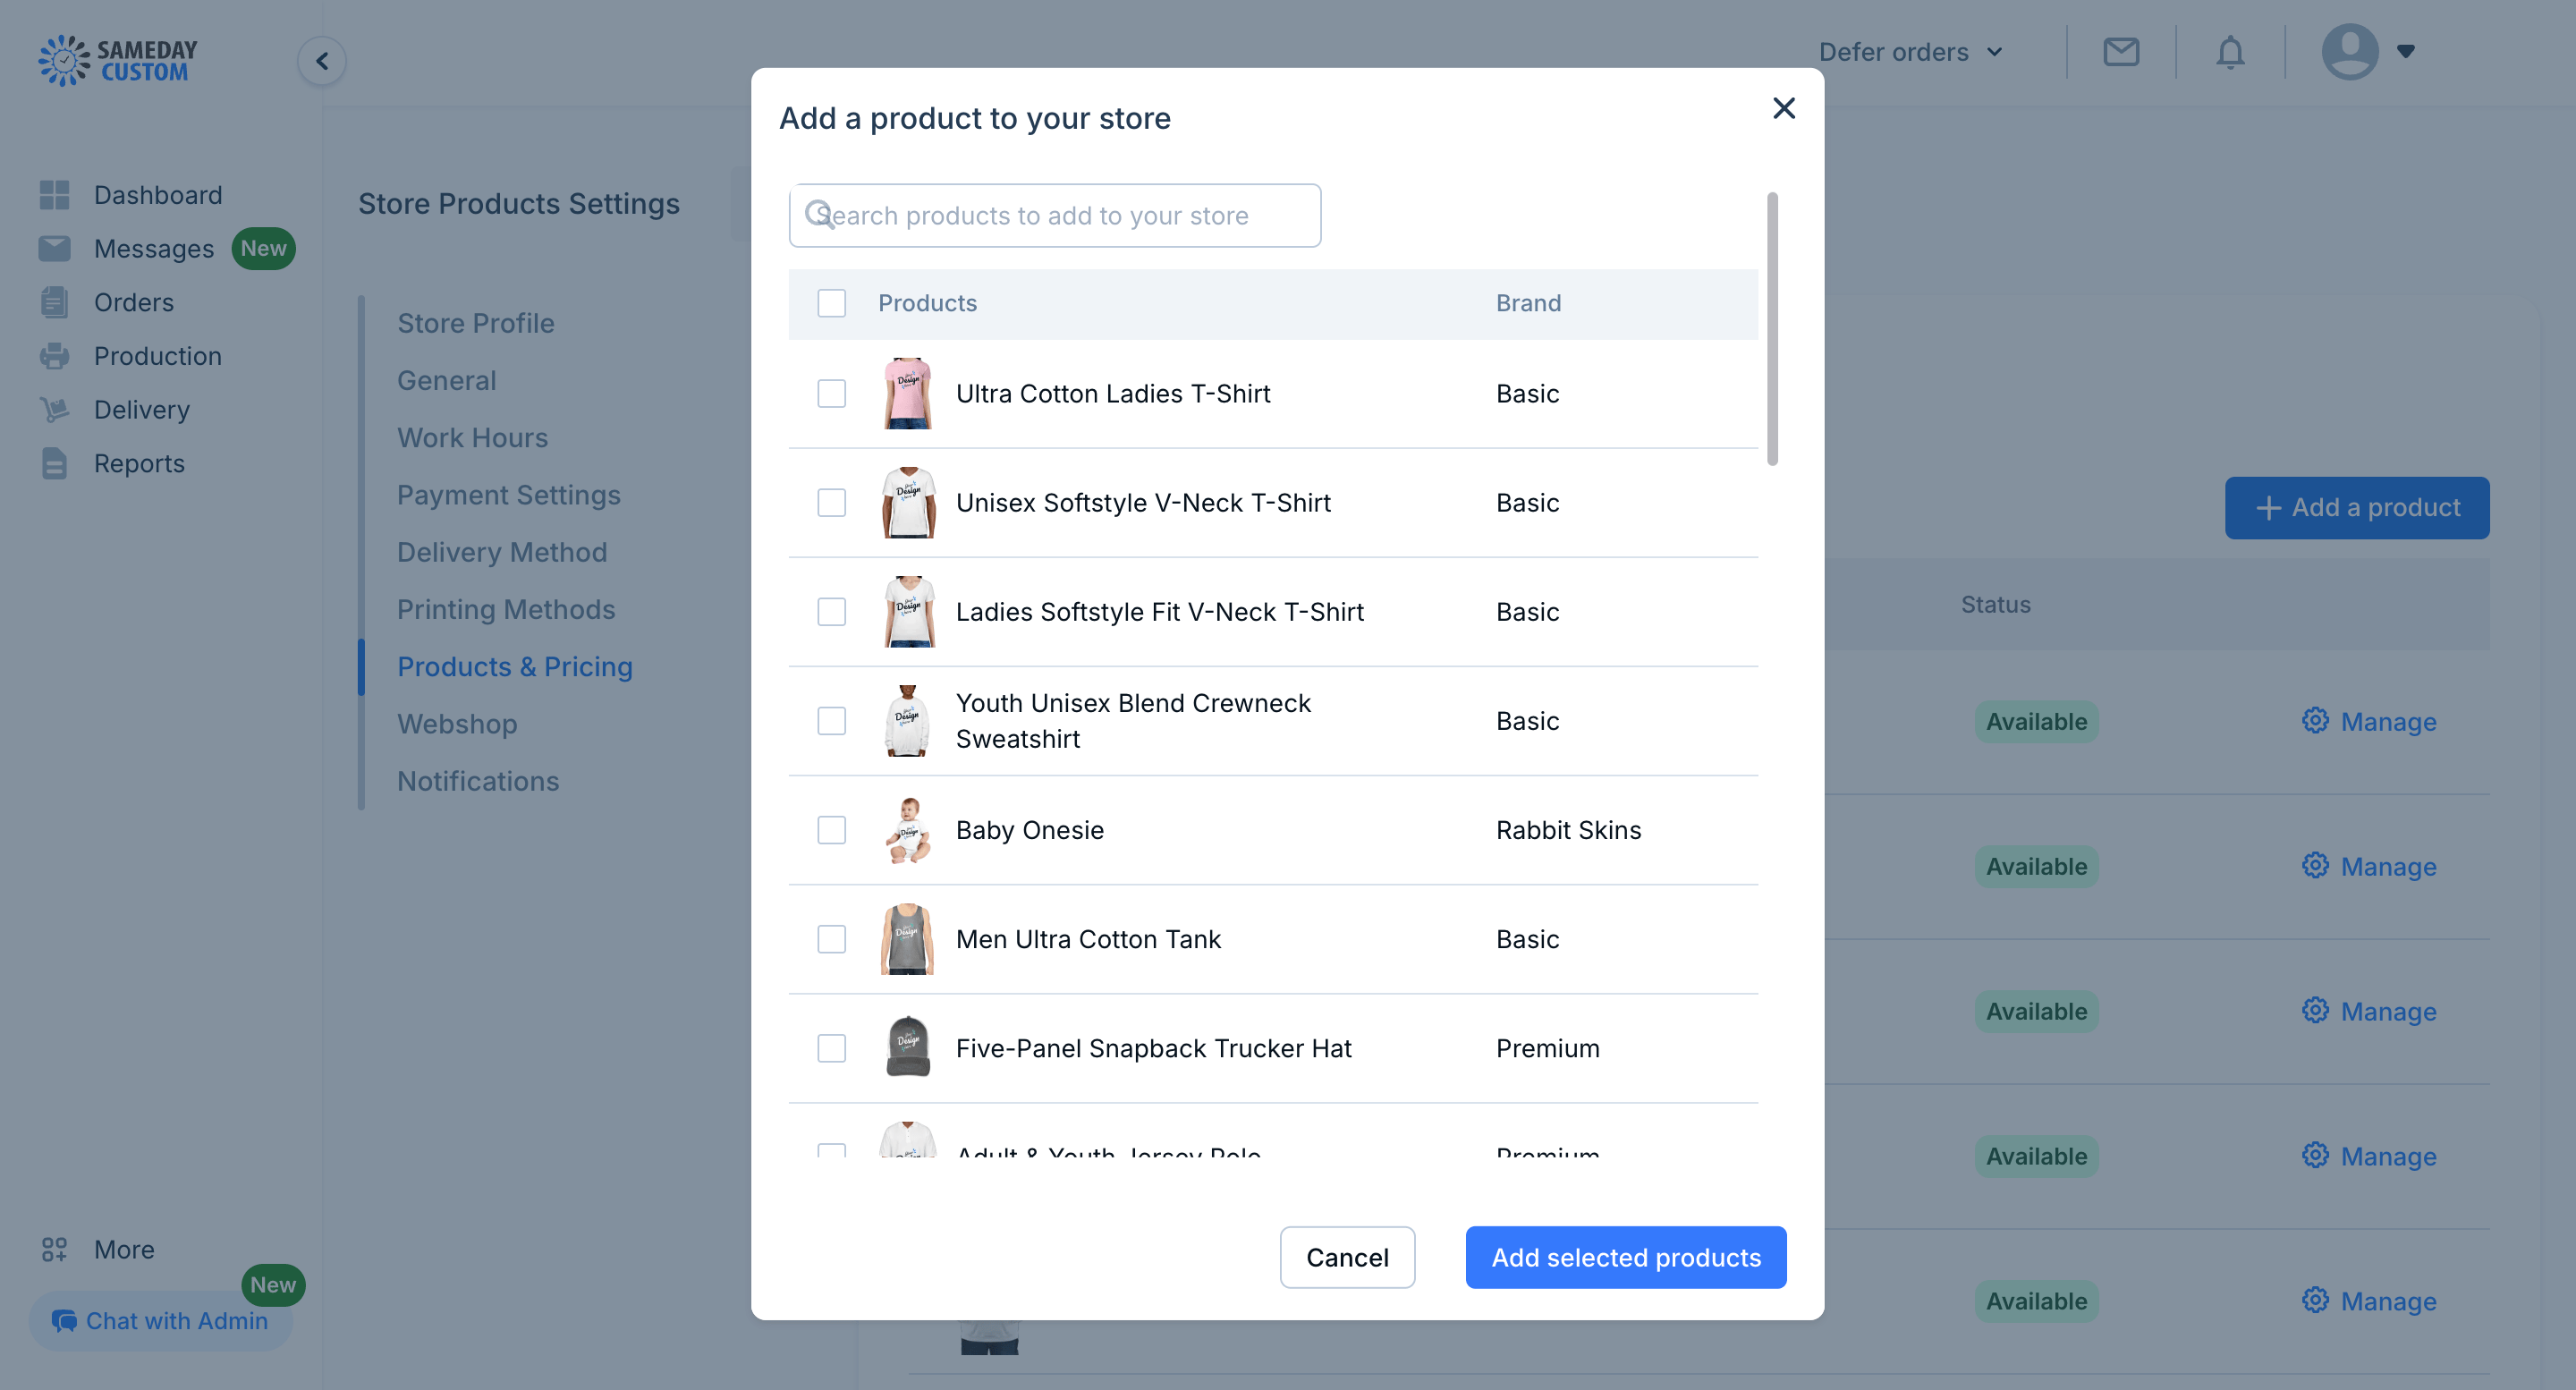
- Add a product does not immediately make it available on your store. You have to add colors and sizes for each product then make the product available. Click Manage on a product to add colors and sizes.
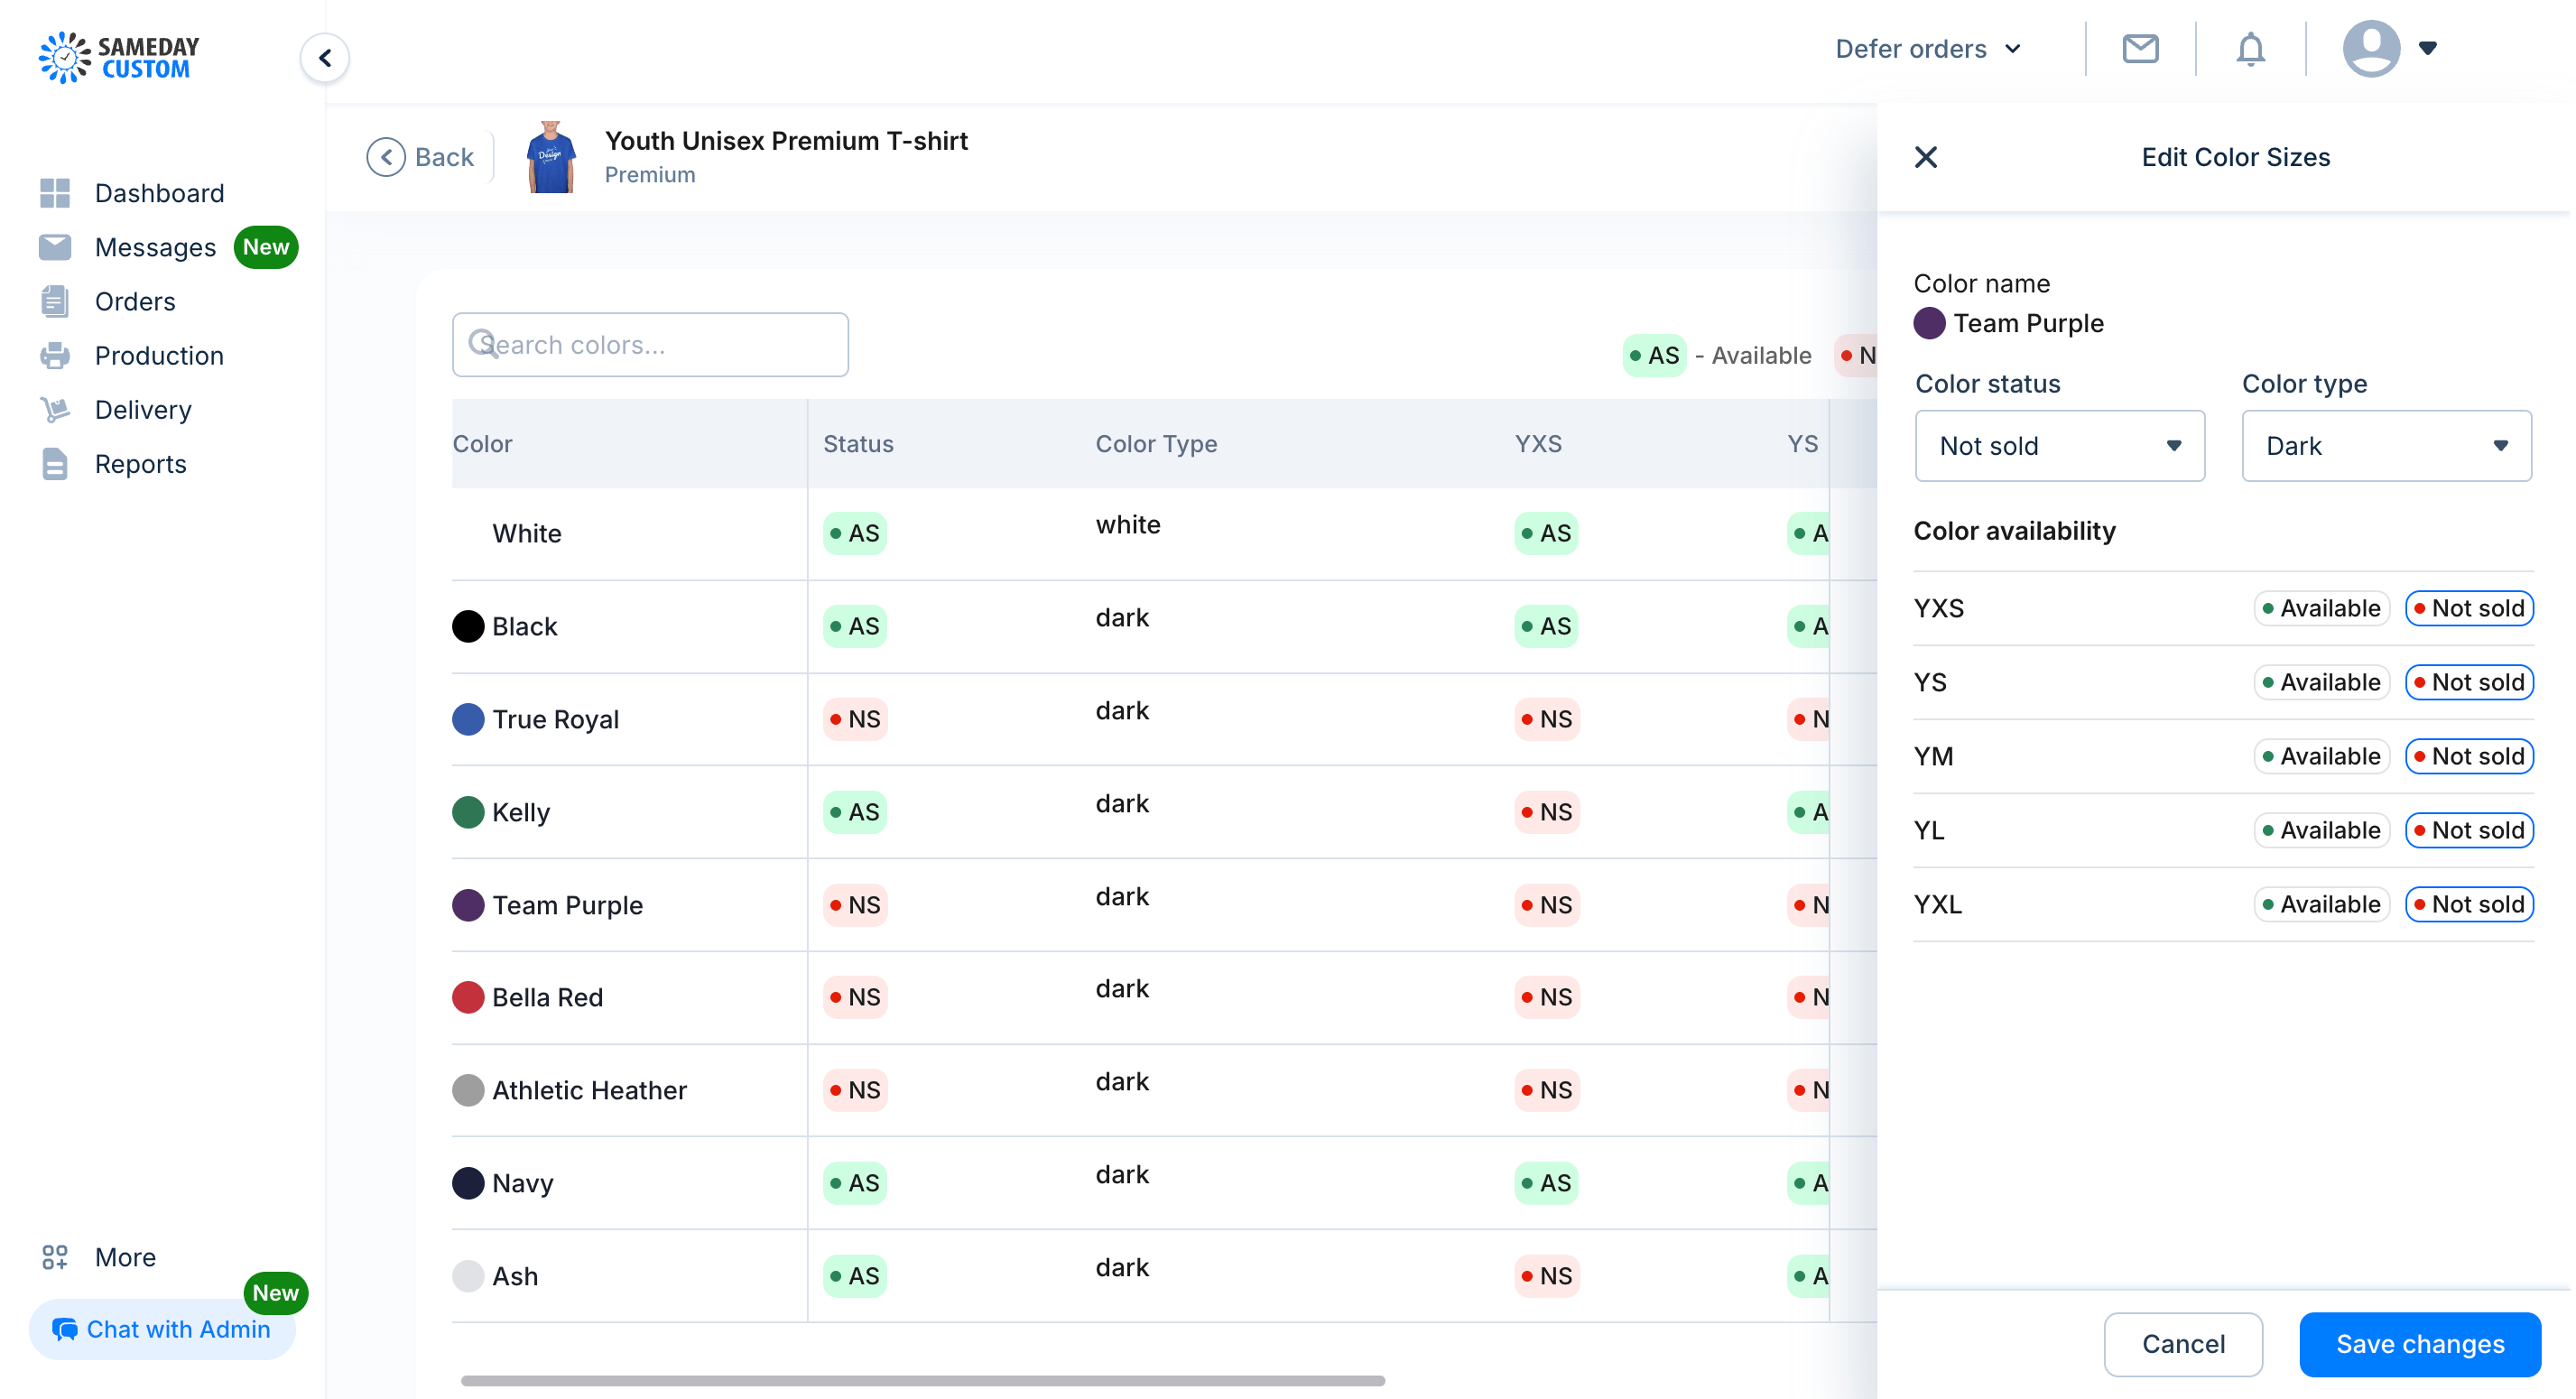
- Clicking Edit on a color will allow you to add sizes to that color and make the color available for sale.
- To add a size to a color, simply click Available on the sizes you have in stock. When you are done, click the dropdown of the Color Status and set the status to Available. Click Save changes when you are done.
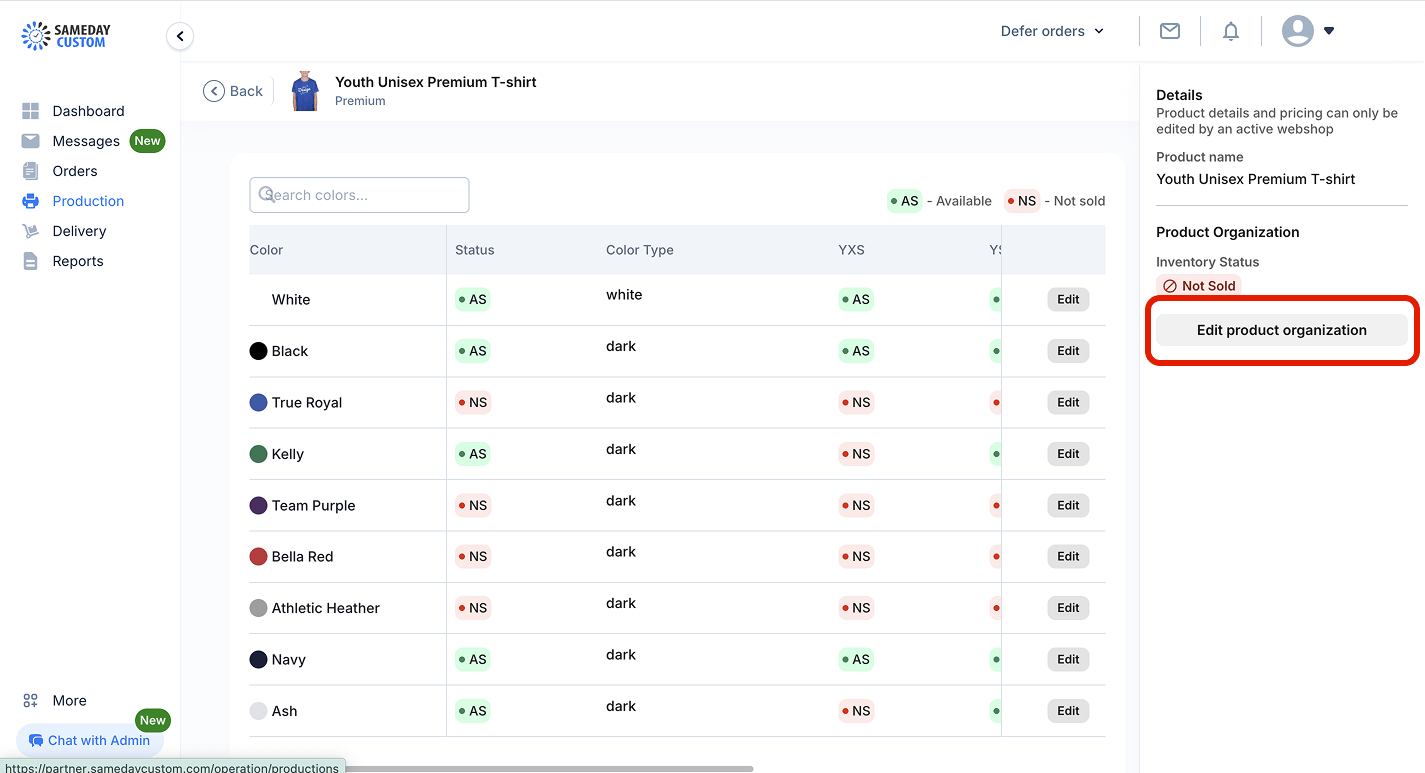
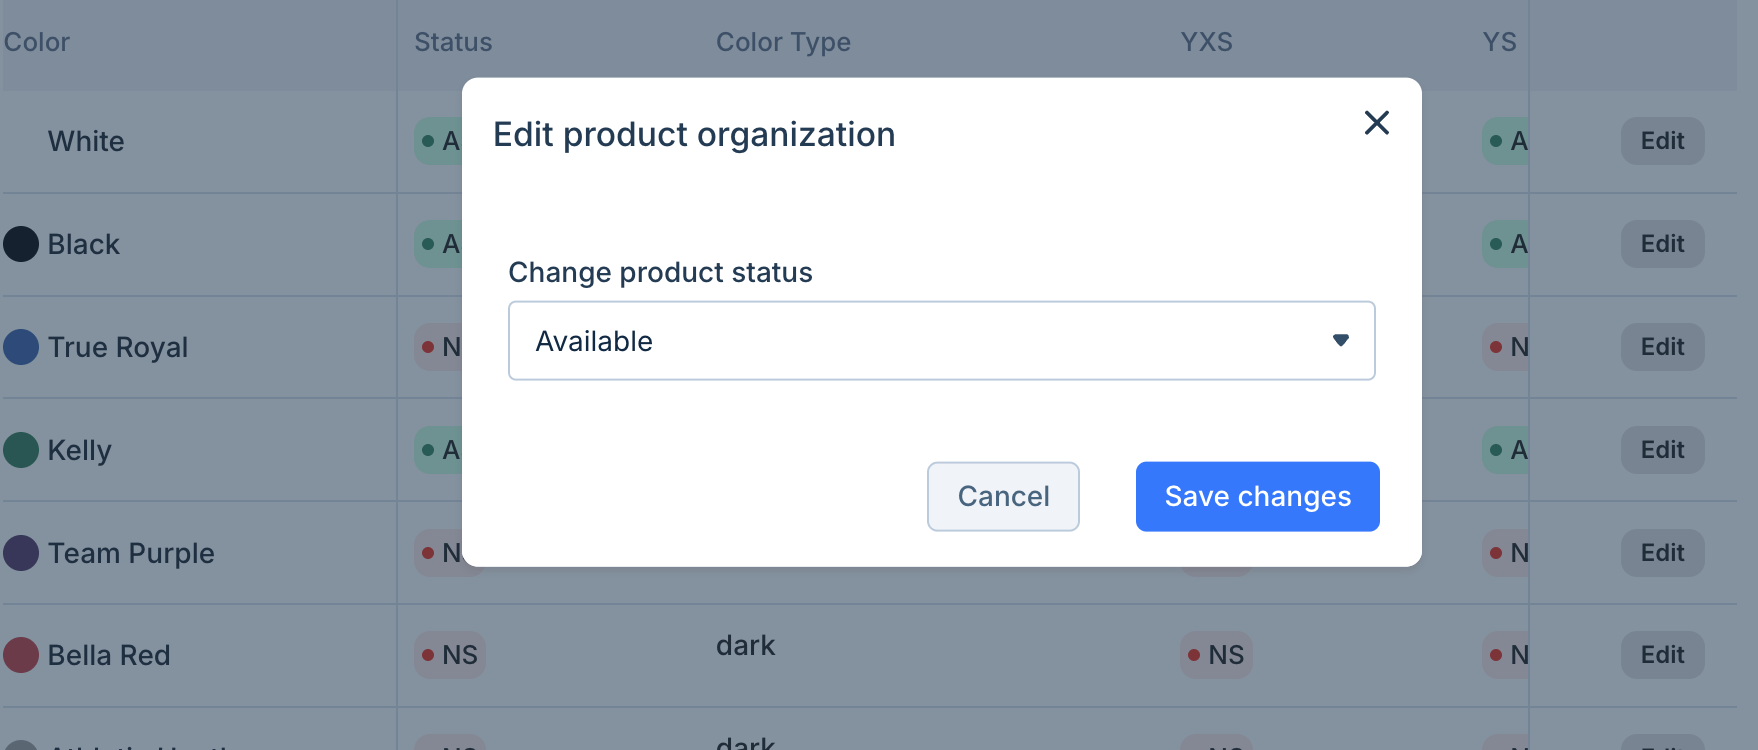
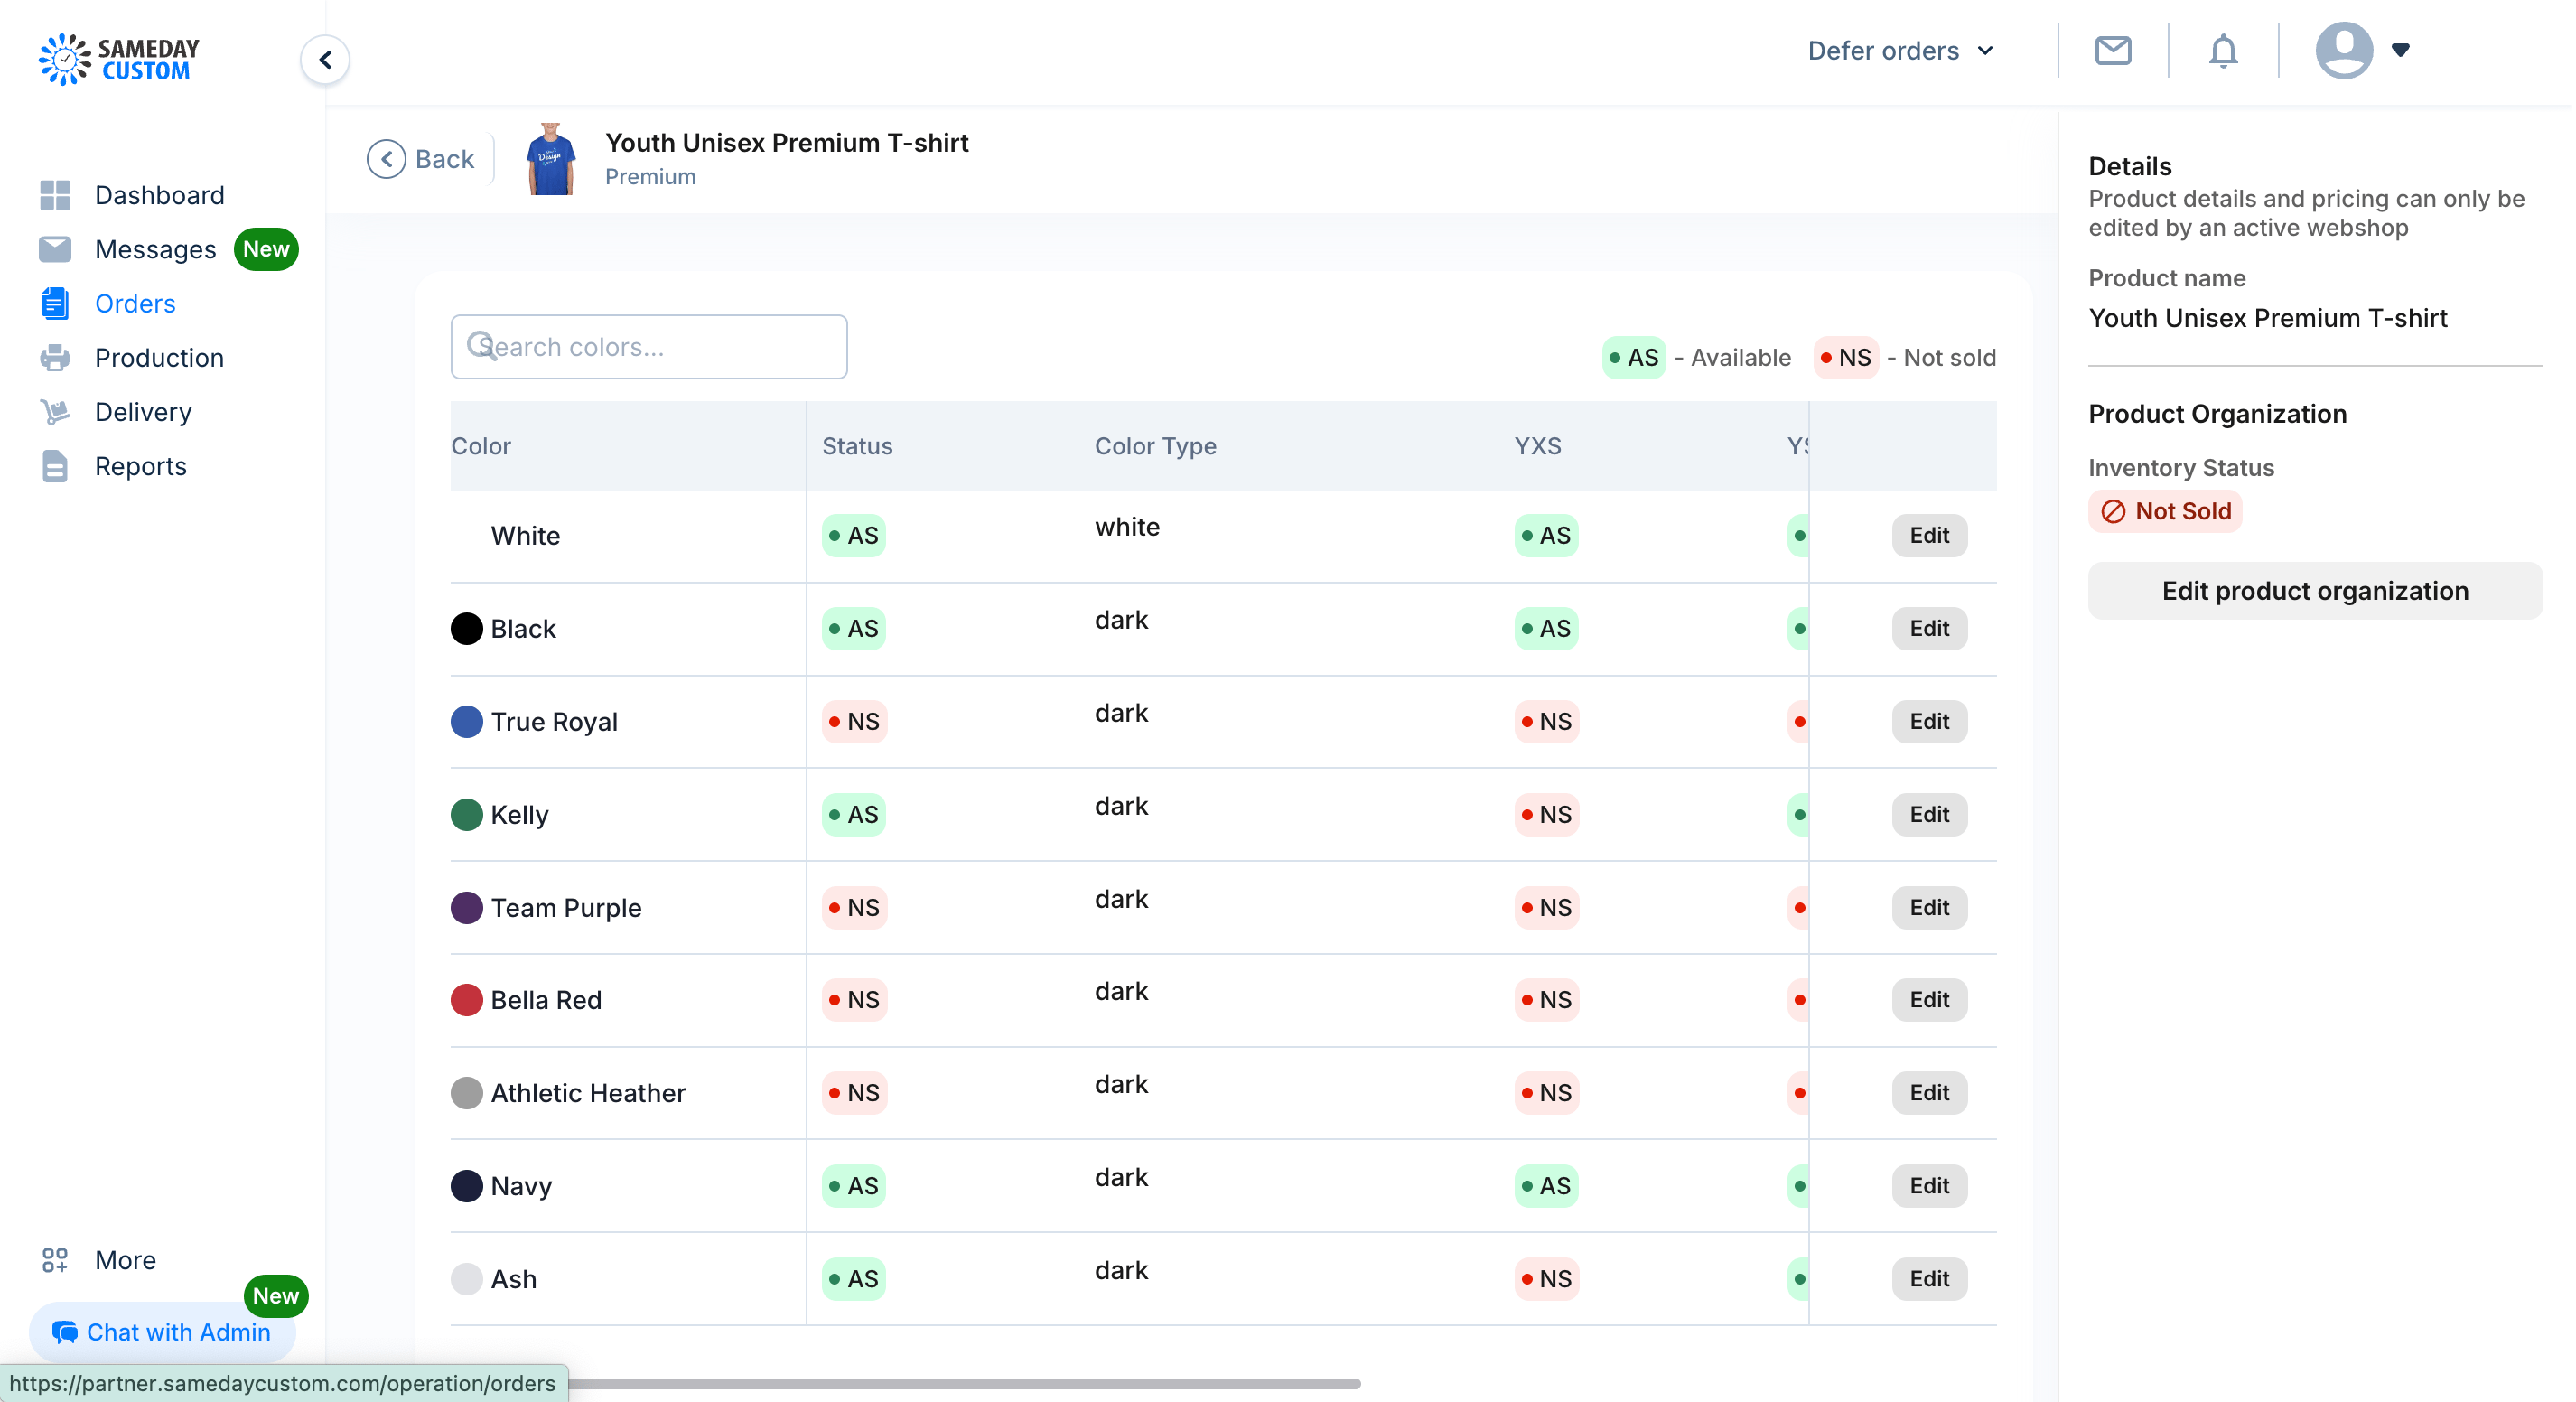
- To make a product available in a store, you have to set the product as available. Click Edit product organization on the right panel of the page. You will be shown a modal, click the dropdown, select Available, and click Save Changes. This will set the product as available and make it visible when a customer visits your store.